
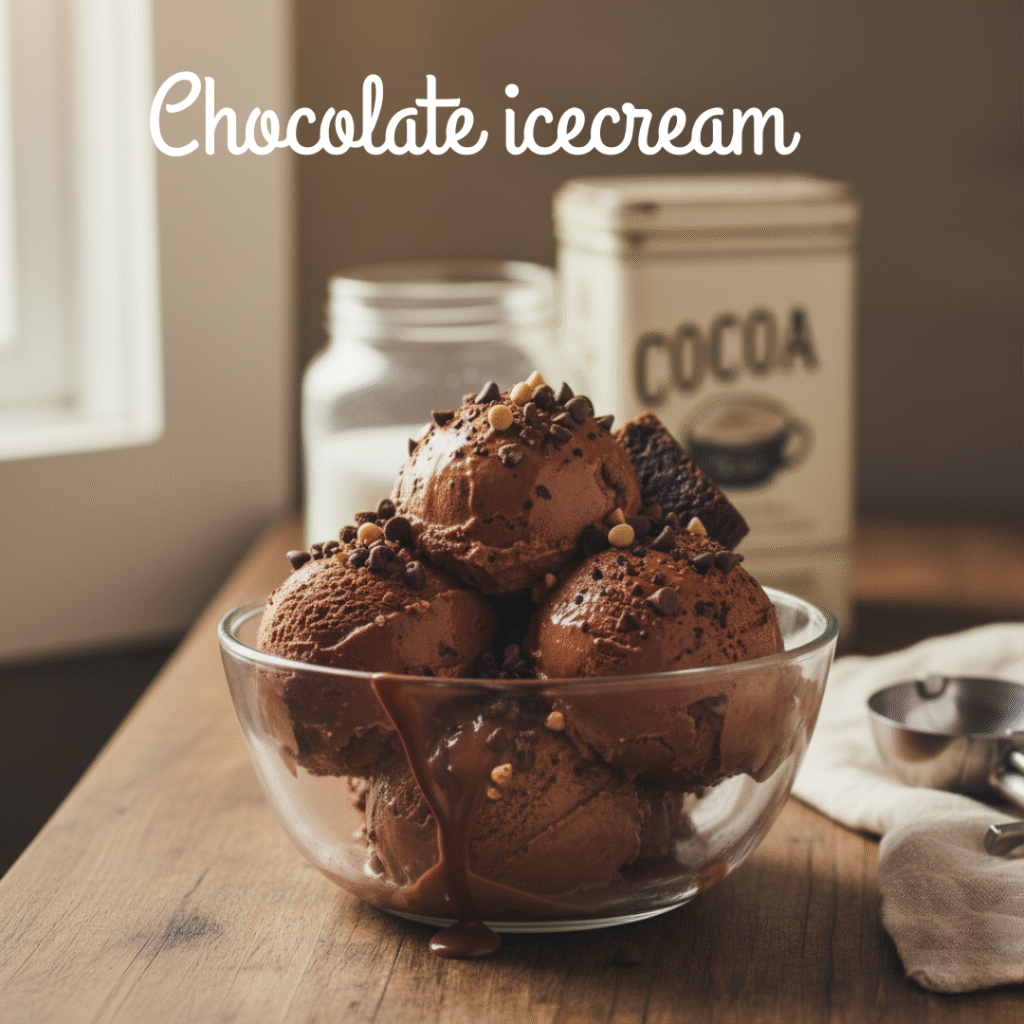
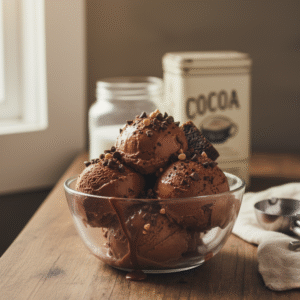
Chocolate ice cream is one of those things that seems complicated to make at home but really isn’t. Sure you can grab a pint from the store but there’s something different about homemade. The texture is creamier. The chocolate flavor is richer and more intense. And honestly once you make it yourself you’ll wonder why you ever bought the store stuff.
Making chocolate icecream at home isn’t some fancy chef thing. It’s just mixing ingredients and letting a machine do the work. Or if you don’t have an ice cream maker there are ways around that too. The hardest part is waiting for it to freeze which tests your patience more than your cooking skills.

Why Homemade Chocolate IceCream Hits Different
Store bought chocolate ice cream is fine. It does the job. But homemade is on another level entirely. You control the chocolate intensity. Want it dark and bittersweet? Use dark cocoa and bittersweet chocolate. Prefer it sweeter and milder? Go with milk chocolate. That kind of customization just doesn’t exist when you’re buying pre-made.
The texture is noticeably better too. Homemade ice cream has this silky smooth quality because you’re using real cream and eggs. No gums or stabilizers or weird ingredients you can’t pronounce. Just cream, milk, sugar, eggs, and chocolate. That’s it.
Plus your kitchen smells incredible while you’re making it. That warm chocolate custard smell fills everything. It’s the kind of smell that makes people wander into the kitchen asking what you’re cooking.
The Science Part Nobody Tells You
Ice cream is basically frozen custard. You’re making a custard base with eggs and cream then churning it while it freezes. The churning part is crucial because it breaks up ice crystals and adds air which makes the texture smooth and creamy instead of hard and icy.
The eggs do something important too. The yolks have lecithin which acts as an emulsifier keeping the fat and water mixed together smoothly. Without eggs you’d get icy separated ice cream that nobody wants.
Temperature matters a lot. Your base needs to be completely cold before churning. If you try to churn warm custard it won’t freeze properly and you’ll end up with chocolate soup. Patience is key here even though it’s annoying to wait.
What You Actually Need
Ingredients
For the Base:
- 2 cups heavy cream
- 1 cup whole milk
- 3/4 cup granulated sugar
- 1/2 cup unsweetened cocoa powder
- 4 large egg yolks
- 6 oz dark chocolate (chopped)
- 2 tsp vanilla extract
- Pinch of salt
Optional Add-ins:
- Chocolate chips
- Chopped nuts
- Brownie chunks
- Cookie pieces
- Caramel swirl
- Marshmallows
Making the Base – Step by Step
Step 1: Mix Your Dry Stuff
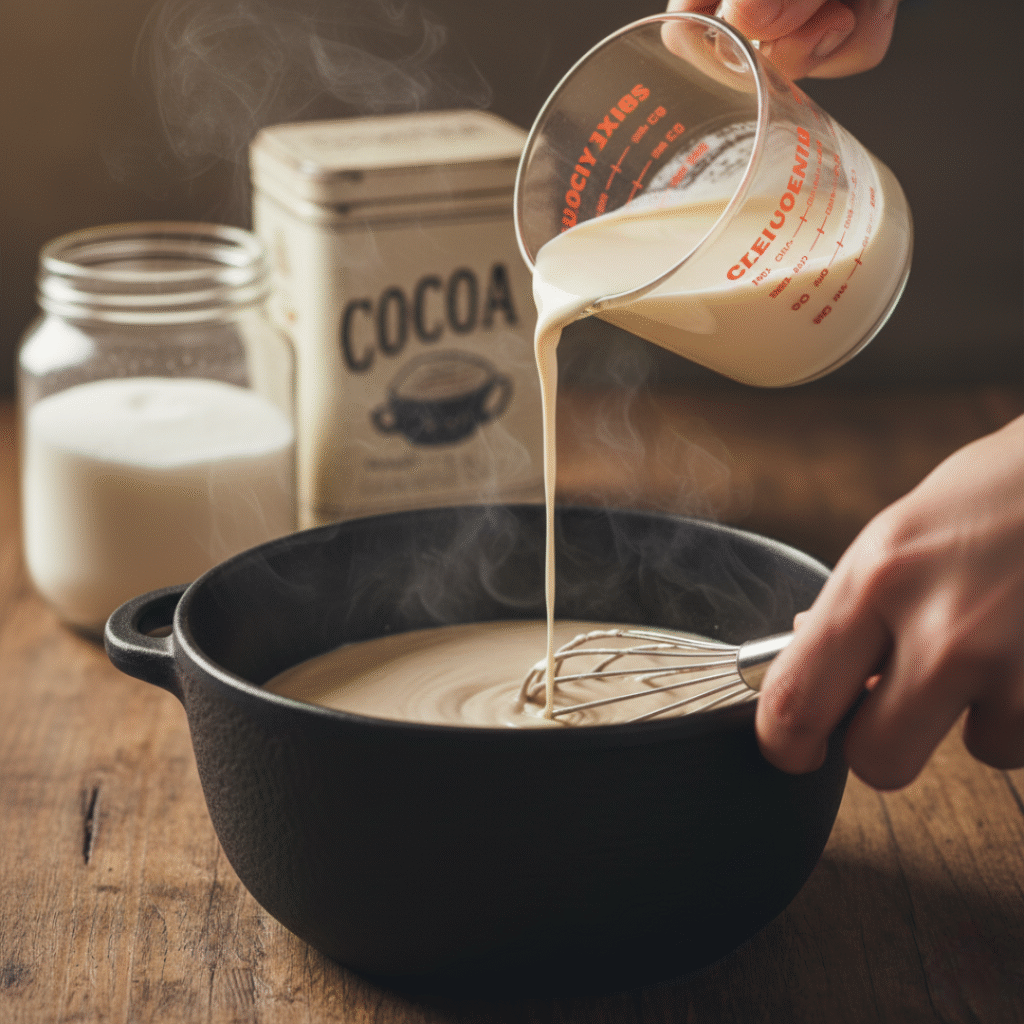
In your saucepan whisk together the cocoa powder and half the sugar. This prevents lumps later.

Add the milk and cream and whisk until smooth. No lumps should be visible.
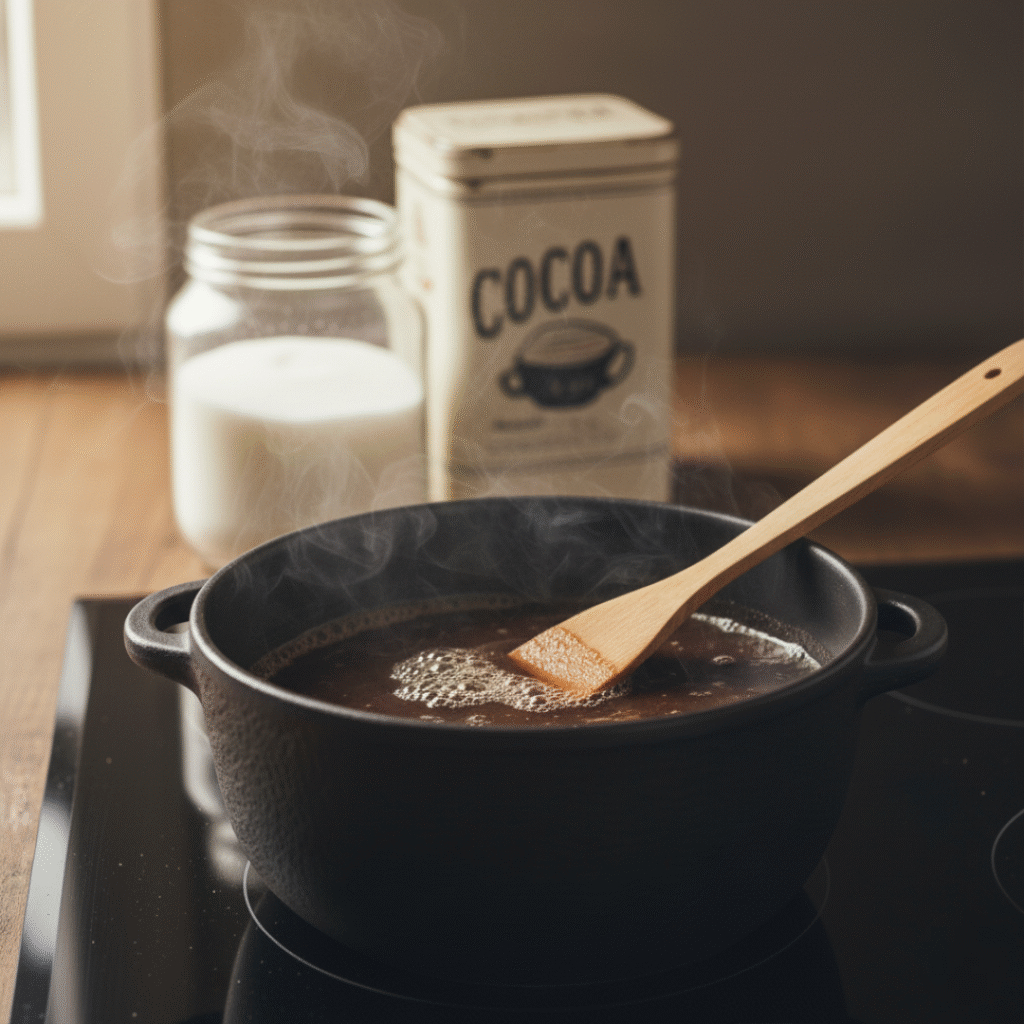
Step 2: Heat It Up
Put the pan on medium heat. Stir occasionally until it starts steaming and tiny bubbles form around the edges. Don’t let it boil. You want it hot but not boiling. Takes about 5-7 minutes usually.
Step 3: Temper The Eggs
This is the slightly tricky part but not really. In a separate bowl whisk the egg yolks with the remaining sugar until they’re pale and thick.
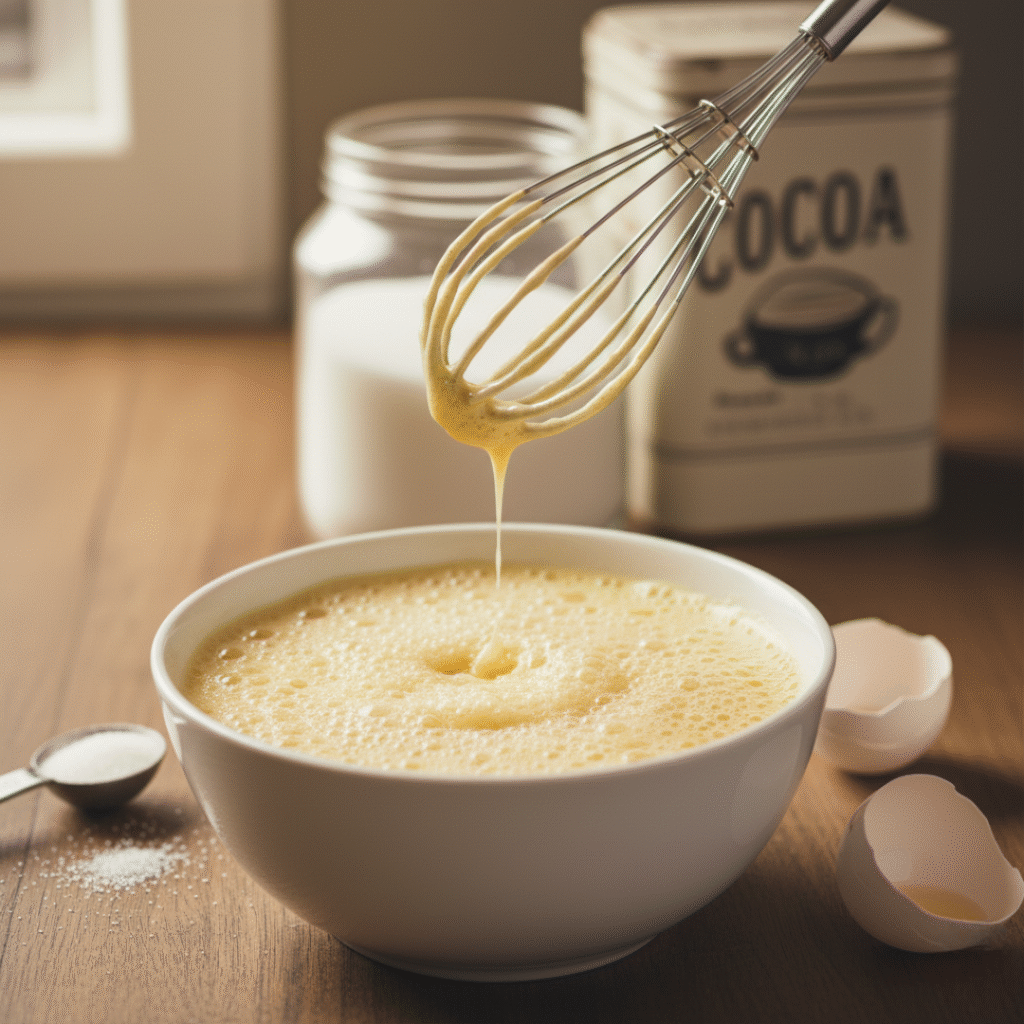
Now here’s the key – you can’t just dump hot cream into raw eggs or you’ll get scrambled eggs. Instead slowly drizzle about a cup of the hot cream mixture into the eggs while whisking constantly. This gradually raises the temperature of the eggs without cooking them. That’s tempering.
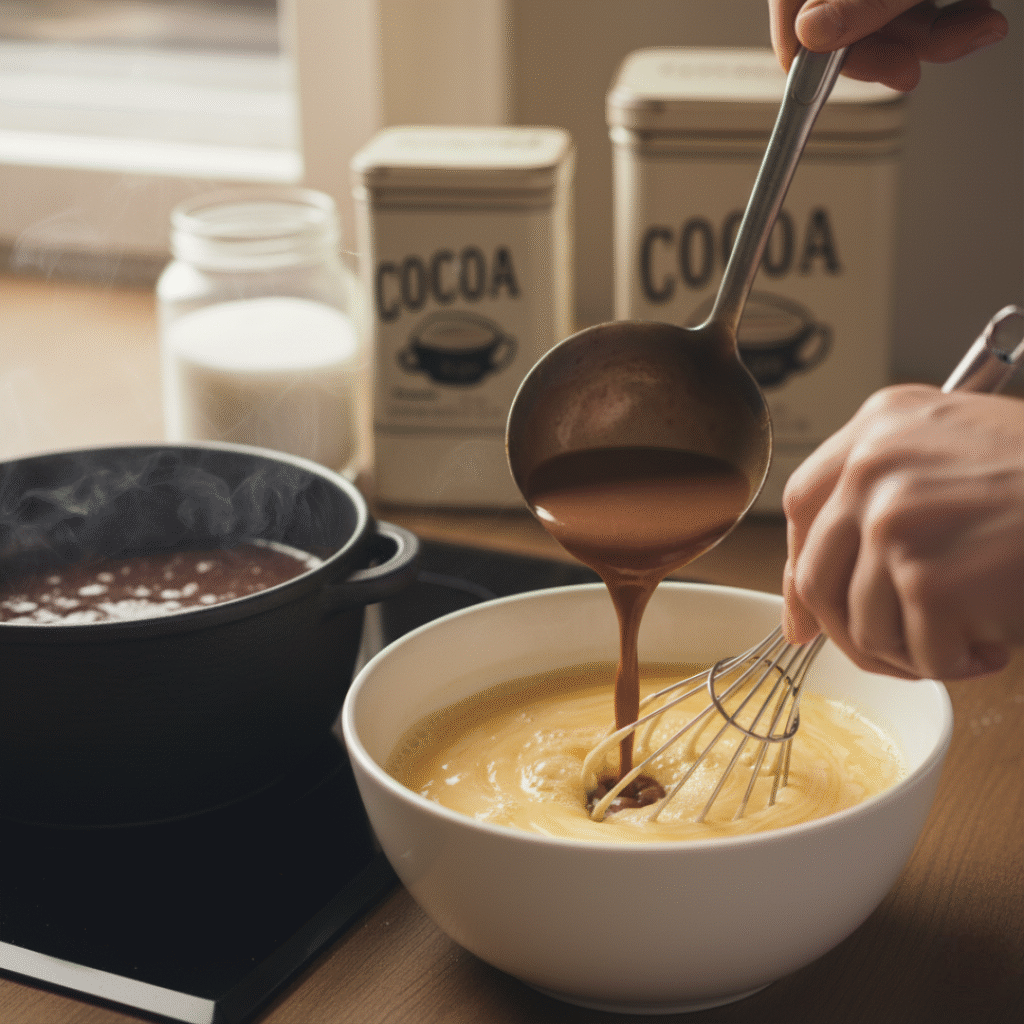
Step 4: Combine Everything
Pour the egg mixture back into the saucepan with the rest of the cream. Cook on medium-low heat stirring constantly with a wooden spoon or spatula.
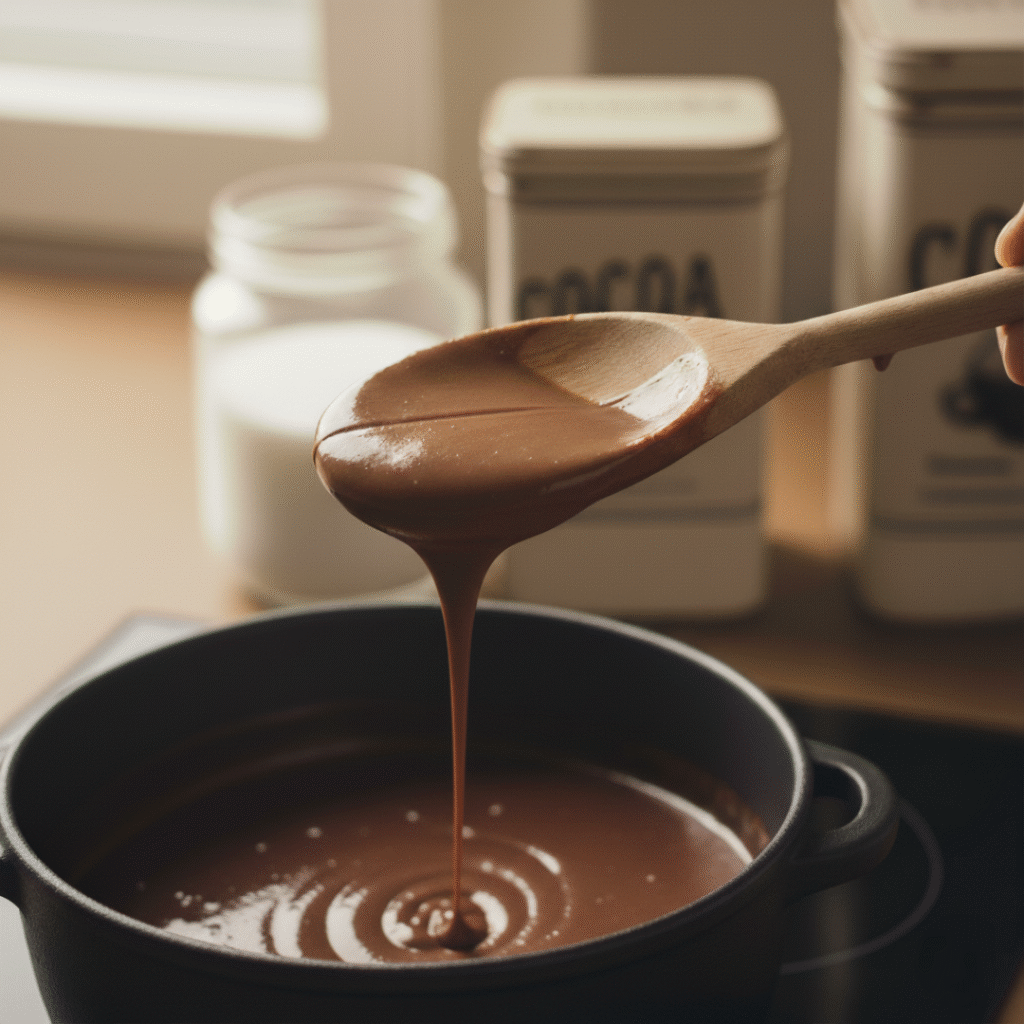
You want to reach about 170-175°F if you have a thermometer. Without a thermometer watch for the mixture to thicken enough to coat the back of a spoon. When you run your finger through it the line should stay clear.
This takes maybe 5-8 minutes. Don’t rush it or you’ll curdle the eggs. Don’t stop stirring or it’ll stick and burn.
Step 5: Add The Chocolate
Take the pan off the heat. Add your chopped chocolate and stir until it melts completely. The residual heat will melt it fine. Add the vanilla and salt. Stir until everything is smooth and glossy.
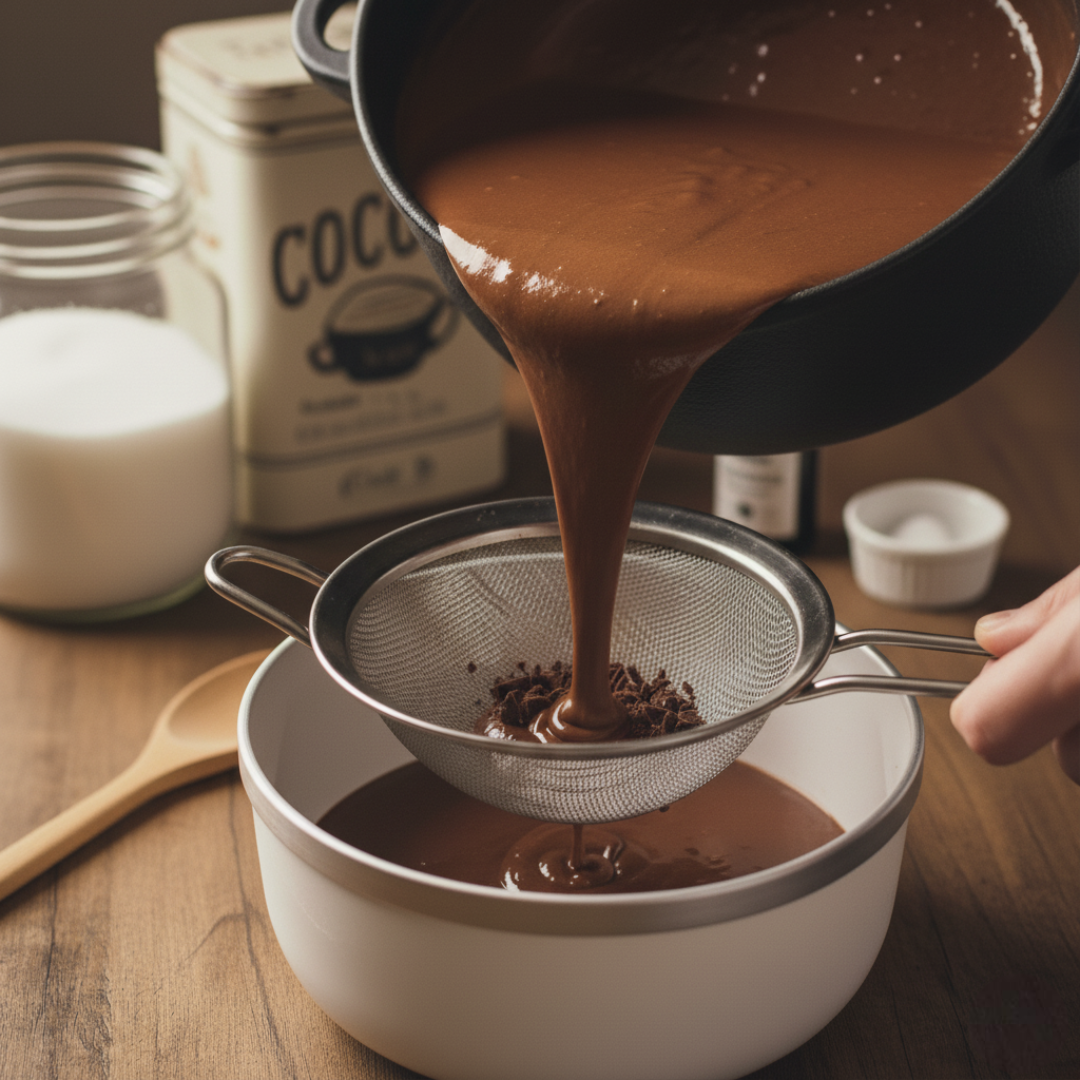
Step 6: Strain It
Pour the mixture through a fine mesh strainer into a clean bowl. This catches any bits of cooked egg or chocolate chunks. You want it perfectly smooth.
Step 7: Cool It Down
This is the patience test. Cover the bowl with plastic wrap pressed directly onto the surface so a skin doesn’t form. Stick it in the fridge for at least 4 hours. Overnight is better. The base needs to be completely cold before churning. If you’re impatient put the bowl in an ice bath and stir occasionally. Speeds things up to maybe 2 hours.
Churning Time
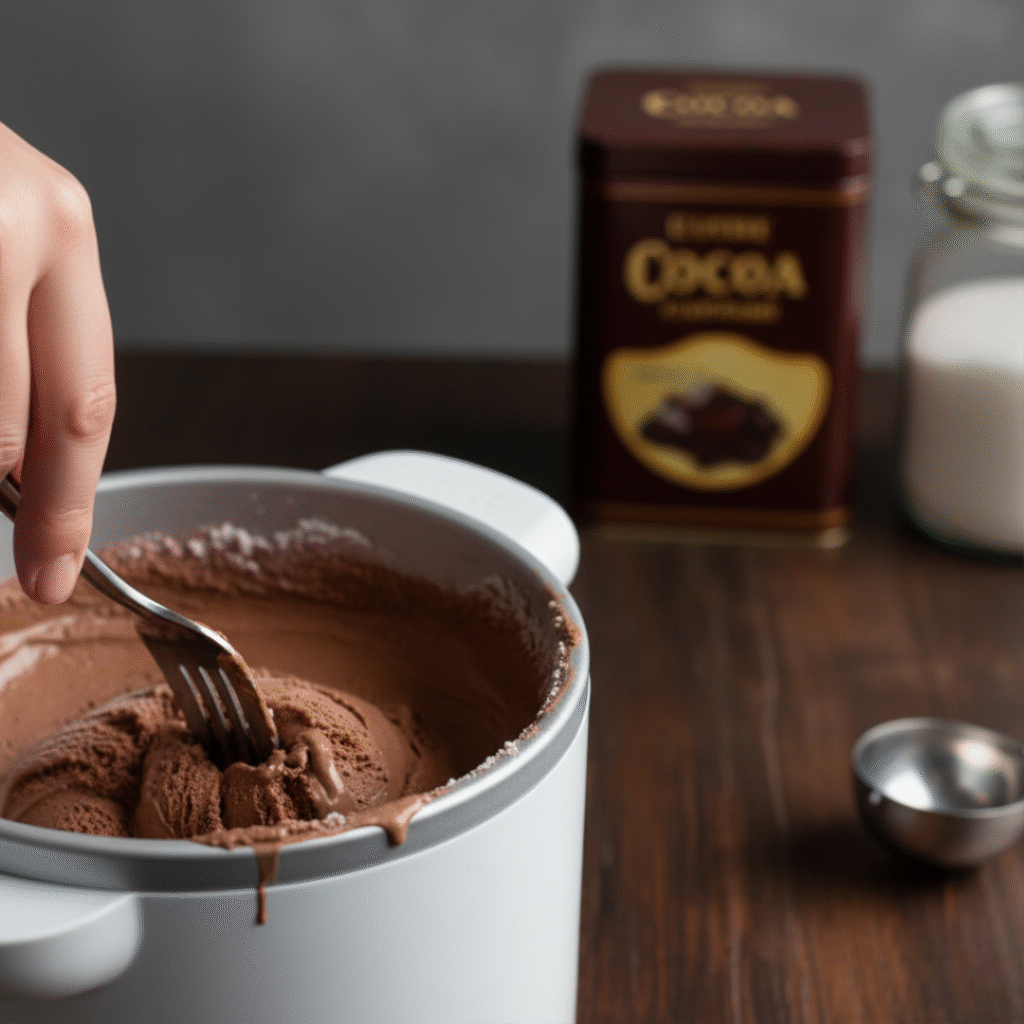
Once your base is cold it’s churning time. Pour it into your ice cream maker and follow the manufacturer instructions. Usually takes 20-30 minutes. The ice cream will look soft serve consistency when done. That’s normal. At this point you can eat it as soft serve which honestly is delicious. Or transfer it to a container and freeze it for 4-6 hours for traditional scoopable ice cream.
If you’re adding mix-ins like chocolate chips or brownie chunks add them in the last 5 minutes of churning. Don’t add them at the start or they’ll just sink to the bottom.
Try these Recipes also:
No Ice Cream Maker? Here’s What You Do
Pour your cold custard into a shallow metal pan. Metal freezes faster than glass or plastic. Stick it in the freezer. After 45 minutes take it out. The edges will start freezing. Use a fork to scrape and stir everything breaking up the frozen parts. Put it back in the freezer.
Repeat this every 30 minutes for about 3-4 hours. It’s annoying but it works. The constant stirring breaks up ice crystals just like a machine does. Your ice cream will be slightly icier than machine churned but still really good.
Storage and Serving Tips
Store homemade ice cream in an airtight container. Press plastic wrap or parchment paper directly onto the surface before sealing to prevent ice crystals from forming.
It’ll keep for about 2 weeks in the freezer but honestly it never lasts that long because people eat it. Homemade ice cream freezes harder than store bought because it doesn’t have all those stabilizers. Let it sit at room temperature for 5-10 minutes before scooping. Makes it way easier.
Pro tip: run your ice cream scoop under hot water between scoops. Cuts through frozen ice cream like butter.
Creamy Chocolate IceCream for Sweet Cold Cravings
Equipment
- Medium saucepan (2-3 quarts)
- whisk
- Wooden spoon or heat-proof spatula
- Fine mesh strainer
- Large mixing bowl
- Ice cream maker (or shallow metal pan for manual method)
- Airtight storage container
- Plastic wrap
- Kitchen thermometer (optional but helpful)
Ingredients
- 2 cups heavy cream
- 1 cup whole milk
- ¾ cup granulated sugar divided
- ½ cup unsweetened cocoa powder
- 4 large egg yolks
- 6 oz dark chocolate chopped
- 2 tsp vanilla extract
- Pinch of salt
INSTRUCTIONS
- Whisk cocoa powder with 1/3 cup sugar in saucepan until combined
- Add cream and milk, whisk until completely smooth with no lumps
- Heat on medium until mixture steams and small bubbles form at edges (5-7 minutes)
- In separate bowl whisk egg yolks with remaining sugar until pale and thick
- Slowly drizzle 1 cup hot cream mixture into eggs while whisking constantly (tempering)
- Pour tempered egg mixture back into saucepan with remaining cream
- Cook on medium-low heat stirring constantly until mixture reaches 170-175°F or coats back of spoon (5-8 minutes)
- Remove from heat and add chopped chocolate, vanilla and salt
- Stir until chocolate completely melts and mixture is smooth
- Pour through fine mesh strainer into clean bowl
- Press plastic wrap directly onto surface and refrigerate minimum 4 hours until completely cold
- Pour cold mixture into ice cream maker and churn 20-30 minutes until soft-serve consistency
- Transfer to airtight container and freeze 4-6 hours until firm
- Before serving let sit at room temperature 5-10 minutes for easier scooping
Storage Tips
- Keep in airtight container up to 2 weeks frozen
- Press plastic wrap on surface before sealing to prevent ice crystals
- Always let soften slightly before scooping
Flavor Variations To Try
Mexican Chocolate: Add 1 tsp cinnamon and 1/4 tsp cayenne pepper to the base. Gives it a spicy kick.
Mint Chocolate: Replace vanilla with 1 tsp peppermint extract. Add chocolate chips at the end.
Mocha: Add 2 tbsp instant espresso powder to the cream mixture. Coffee and chocolate together is incredible.
Rocky Road: Fold in mini marshmallows, chocolate chips, and chopped almonds after churning.
Double Chocolate: Stir in 1/2 cup chocolate chips or chunks in the last few minutes of churning.
Salted Caramel Swirl: Swirl in salted caramel sauce when transferring to storage container. Don’t mix completely – you want ribbons of caramel.
Common Problems and Fixes
Ice cream is too icy: Your base wasn’t cold enough before churning or you didn’t churn long enough. Also make sure your ice cream maker bowl was frozen solid.
Ice cream is too soft: Freeze it longer. Homemade needs at least 4-6 hours in the freezer after churning.
Tastes eggy: You cooked the custard too hot and slightly scrambled the eggs. Strain it well and the flavor should still be fine.
Too sweet or not sweet enough: Adjust sugar next time. Start with 2/3 cup if you want less sweet or go up to 1 cup for sweeter.
Chocolate flavor weak: Use better quality chocolate and cocoa powder. Cheap stuff makes bland ice cream.
Why This Recipe Works
This recipe uses both cocoa powder and melted chocolate. The cocoa gives deep chocolate flavor. The melted chocolate adds richness and body. Together they create intense chocolate taste that actually tastes like chocolate.
The ratio of cream to milk matters. Too much cream and it’s too heavy. Too much milk and it’s icy. This ratio hits the sweet spot of creamy without being overly rich.
Egg yolks are non-negotiable. They create that silky custard texture. Eggless ice cream exists but the texture is different. Not bad just different.