
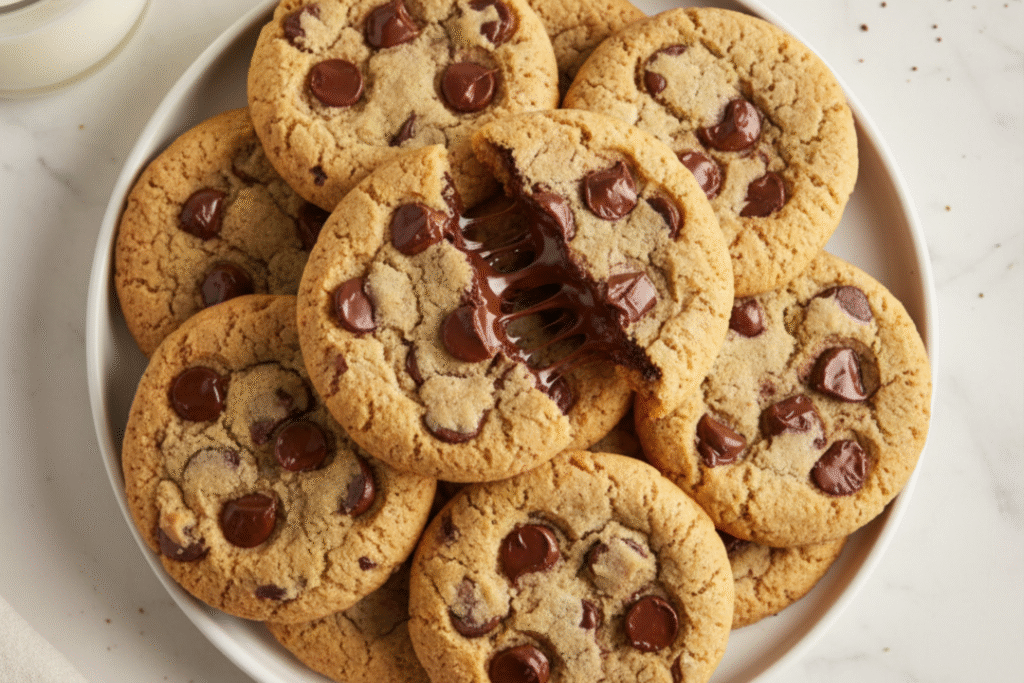
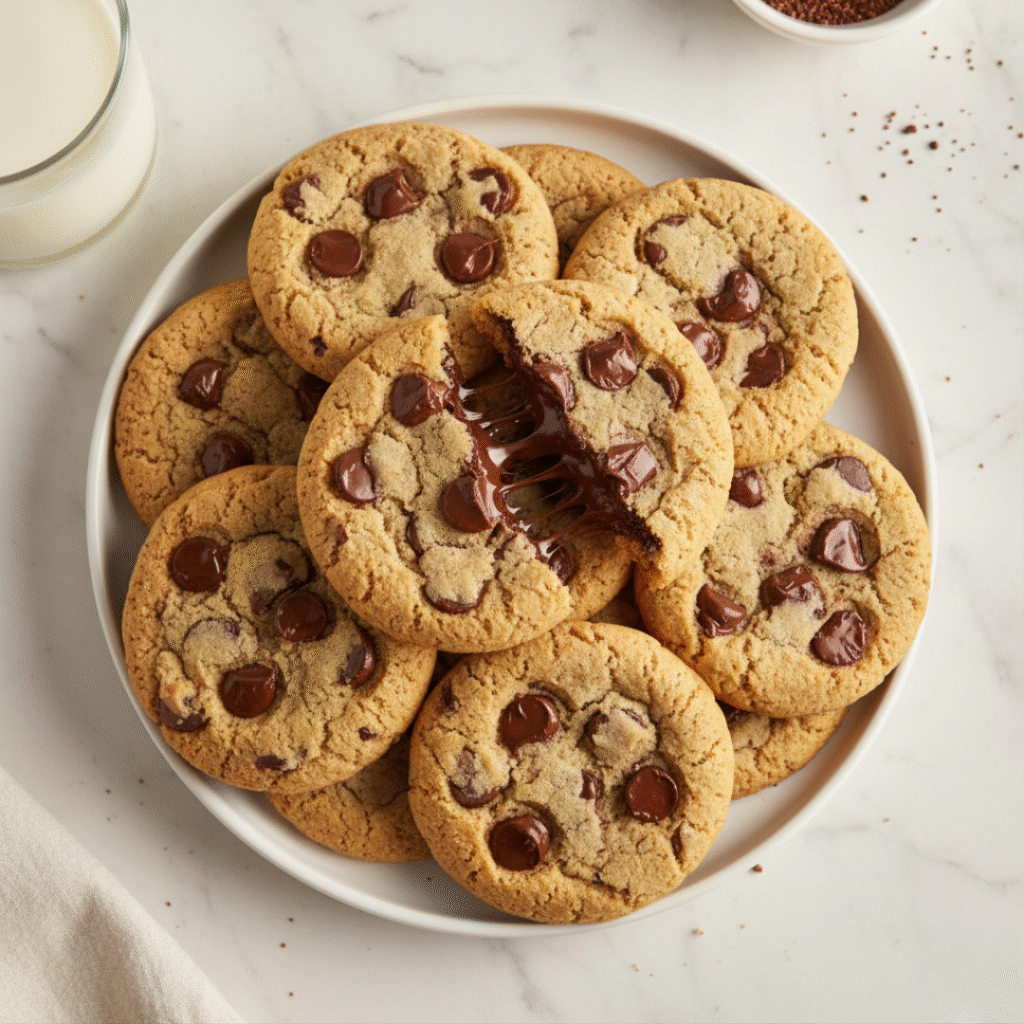
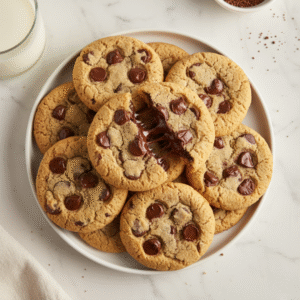
Warm homemade chocolate chip cookies with melted chocolate beat store-bought ones every time. Store-bought are either rock hard or weirdly soft. Homemade chocolate chip cookies are perfect—gooey chocolate with crispy edges and a soft middle.
Making chocolate chip cookies isn’t complicated. You just need butter, sugar, eggs, flour, chocolate chips, and vanilla. Mix them right and they taste infinitely better than packaged ones.
Don’t overmix the dough and don’t bake too long. Overmixing makes cookies tough. Baking too long makes them dry. Avoid these mistakes and your chocolate chip cookies turn out incredible.
Key Ingredients for Perfect Chocolate Chip Cookies
The Flour Stuff:
- 2¼ cups flour
- 1 teaspoon baking soda
- 1 teaspoon salt
The Butter and Egg Stuff:
- 1 cup butter (it has to be soft, not cold hard or melted)
- ¾ cup regular white sugar
- ¾ cup brown sugar (pack it down)
- 2 eggs
- 2 teaspoons vanilla
The Good Stuff:
- 2 cups chocolate chips (get the good kind)
- ½ cup nuts if you want them (walnuts or pecans)
How to Actually Make These Cookies
Getting Started: The Butter
Take your butter out about thirty minutes before you start baking. It needs to be soft where you can stick your finger in it without too much effort. Not hard like it just came out of the fridge. Not runny like it’s melted. Right in the middle. This matters a lot because it changes how your cookies turn out when they bake. If your butter’s too cold, it won’t mix right with the sugar. If it’s melted, your cookies come out cakey instead of chewy.
Mixing the Butter and Sugars
Put that soft butter in a bowl with both kinds of sugar. Take a spoon or mixer and beat them together for like two or three minutes. You want it to look pale and fluffy, kind of like frosting. What’s happening while you’re doing this is tiny little air bubbles are forming in the butter. Those bubbles are what make cookies fluffy instead of dense and heavy. This step is super important and takes just a few minutes.
Adding the Eggs
Crack one egg into the bowl and mix it in really well. Then crack the second egg in and mix again. The eggs do two things—they hold everything together and they add moisture so cookies aren’t dry. After you add both eggs, the mixture might look kind of separated and lumpy. That’s completely normal. Keep mixing and it’ll smooth out.
The Vanilla
Pour in your vanilla and mix it around. Vanilla doesn’t just make it taste better. It actually helps bring all the ingredients together and makes the whole thing more smooth. Takes just a minute but makes a real difference in how good it tastes.
The Flour Mix
In a different bowl, put your flour, baking soda, and salt together and mix them really well. The salt brings out the chocolate flavor. The baking soda makes cookies puff up and get crispy edges. Make sure they’re mixed evenly or some cookies will turn out puffier than others.
Putting It All Together
Pour your flour mixture into your butter mixture and stir gently. Stop as soon as you don’t see any white streaks of flour. This is where people mess up. They keep mixing and mixing until the dough is super smooth and tight. Don’t do that. Just mix until everything’s combined and stop. Overmixing makes cookies tough because it wakes up the gluten in the flour.
Adding the Chocolate
Stir in your chocolate chips and any nuts you’re using. Use good chocolate because cheap chocolate chips taste bad. This is the whole point of the cookie so don’t cheap out here. If you love chocolate, use the full two cups. If you like less chocolate, use one and a half cups. You’re making these so you get to decide.
Scooping and Chilling
Using a scoop or spoon, drop rounded portions of dough onto your baking sheets. Leave space between them because they’re going to spread. Stick your baking sheets in the fridge for at least thirty minutes. This is important. Cold dough spreads less so you get thicker cookies. Warm dough spreads more so you get thinner cookies. This is basically how you control what kind of cookies you get.
Baking Time
Turn your oven on to 375 degrees and let it heat up. Once it’s hot, put your cookies in. Bake them for nine to eleven minutes. Here’s the trick—pull them out when the edges are golden brown but the middle still looks like it’s not quite done. I know that sounds weird but it works. The cookies keep cooking on the hot pan after you pull them out, so taking them out early is actually right.
Cooling Them
Let them sit on the hot baking sheet for about two minutes. Then move them to a plate or a cooling rack. Eating them while they’re still warm and the chocolate is still melty is honestly the best part of making cookies.
FAQS
Do I Really Have to Let It Chill?
Yeah, you do. Cold dough spreads less which means thicker cookies. If you skip this your cookies will spread too much and be thin and crispy. The chilling isn’t optional.
Can I Make the Dough and Bake It Later?
You can keep dough in the fridge for three days. You can also freeze it for three months. If it’s frozen, thaw it in the fridge overnight. You can even bake cookies straight from frozen dough but add a minute or two to the baking time.
What If I Don’t Have a Mixer?
Use a wooden spoon. Yeah your arm gets tired but it works fine. Just keep mixing the butter and sugars until they’re pale and fluffy. It takes longer but you still get the same result.
My Cookies Always Spread Too Much. What’s Wrong?
Your dough is probably too warm or you didn’t chill it long enough. Make sure you chill for at least thirty minutes minimum. Also check that your oven is actually the temperature you think it is. Ovens lie about their temperature all the time.
Is Brown Sugar Really Important?
Brown sugar has moisture in it that makes cookies chewy. White sugar by itself makes them crispy. Using both together is how you get that perfect mix of chewy and crispy at the same time.
Tips That Actually Help
- Don’t skip chilling the dough.
- Use room temperature eggs because cold eggs don’t mix smoothly.
- Get an oven thermometer because every oven runs different.
- Pull cookies out when they look slightly underdone in the middle because they keep cooking after you remove them.
- Use good chocolate because you can taste the difference.
How to Keep Your Cookies
Cookies stay good in an airtight container for about a week at room temperature. Put a slice of bread inside to keep them soft and chewy. Change the bread every couple days.
Freeze them in a freezer bag for three months. Thaw at room temperature for an hour. You can also freeze raw dough portions and bake straight from frozen, just add a minute or two to baking time.
Making cookies at home isn’t intimidating anymore once you do it. Your kitchen smells amazing. Everyone wants to eat them. You save money and there’s something nice about serving warm cookies you made yourself.
Bottom Line
Making chocolate chip cookies at home is easier than you think and they taste so much better than store-bought. You just need basic stuff that you probably have already.
The whole thing takes less than an hour. Once you’ve made them a few times, you stop being nervous about it and just make them whenever you want. Your house smells incredible.
Your family’s happy. You get to eat warm cookies fresh from the oven whenever the craving hits. That’s worth the little bit of effort it takes.
Delicious Chocolate Chip Cookies Fresh from the Oven
Equipment
- Large bowl
- Small bowl
- Wooden spoon or mixer
- Measuring cups and spoons
- Baking sheets
- Cookie scoop or spoon
- Cooling rack or plate
- Oven
Ingredients
Dry Stuff:
- 2¼ cups flour
- 1 teaspoon baking soda
- 1 teaspoon salt
Butter Stuff:
- 1 cup butter soft
- ¾ cup white sugar
- ¾ cup brown sugar packed
- 2 eggs
- 2 teaspoons vanilla
The Good Parts:
- 2 cups chocolate chips
- ½ cup chopped nuts optional
INSTRUCTIONS
- 1. Get Butter Ready: Take it out 30 minutes before you start.
- 2. Mix Butter & Sugars: Beat together 2-3 minutes until pale and fluffy.
- 3. Add Eggs: Add one egg, mix well. Add second egg, mix well.
- 4. Add Vanilla: Mix it in.
- 5. Mix Dry Ingredients: Combine flour, baking soda, salt in another bowl.
- 6. Combine Everything: Pour dry into wet, stir until just combined. Don't overmix.
- 7. Add Chocolate: Stir in chocolate chips and nuts.
- 8. Scoop & Chill: Drop onto baking sheets with space between. Chill 30 minutes.
- 9. Heat Oven: Turn to 375°F.
- 10. Bake: Bake 9-11 minutes until edges are golden brown.
- 11. Cool: Let sit 2 minutes on sheet, then move to cooling rack.
Notes
- Butter: Must be soft, not cold or melted.
- Brown Sugar: Pack it down when measuring.
- Chilling: Don’t skip it. This step matters.
- Baking: Pull out when centers look slightly underdone.
- Oven Temp: Use a thermometer to check it’s actually right.
- Make Ahead: Keep dough in fridge 3 days or freeze 3 months.
- Chocolate: Buy good quality. Cheap tastes cheap.
- Storage: Keep in airtight container, lasts about 1 week.
- Freezing: Baked cookies freeze 3 months.
- From Frozen: Bake dough straight from freezer, add 1-2 minutes.