
Here’s something every baker knows: store-bought apple pie crust will never quite match the magic of something you’ve made with your own hands. There’s something special about mixing flour, cutting in cold butter, and watching it transform into something golden and flaky.
It’s not just a recipe – it’s a craft that might seem intimidating at first, but once you understand the principles, it becomes beautifully simple.
This guide will walk you through everything you need to know, from selecting the right ingredients to achieving that perfect, buttery texture that makes people close their eyes when they take a bite. Let’s unlock the secrets to pie crust perfection.
Ingredients You’ll Need
For one perfect 9-inch apple pie crust, gather these simple ingredients:
- 2.5 cups all-purpose flour
- 1 teaspoon salt
- 1 teaspoon sugar (optional but highly recommended)
- 1 cup (2 sticks) cold butter, cut into small cubes
- 6-8 tablespoons ice-cold water
- 1 tablespoon fresh lemon juice (optional but makes a difference)
That’s it. Just five basic ingredients standing between you and pastry perfection. The beauty of pie crust lies not in complexity, but in respecting the process.
Step-by-Step Instructions
Step 1: Combine Your Dry Ingredients
Start by mixing flour, salt, and sugar in a large bowl.
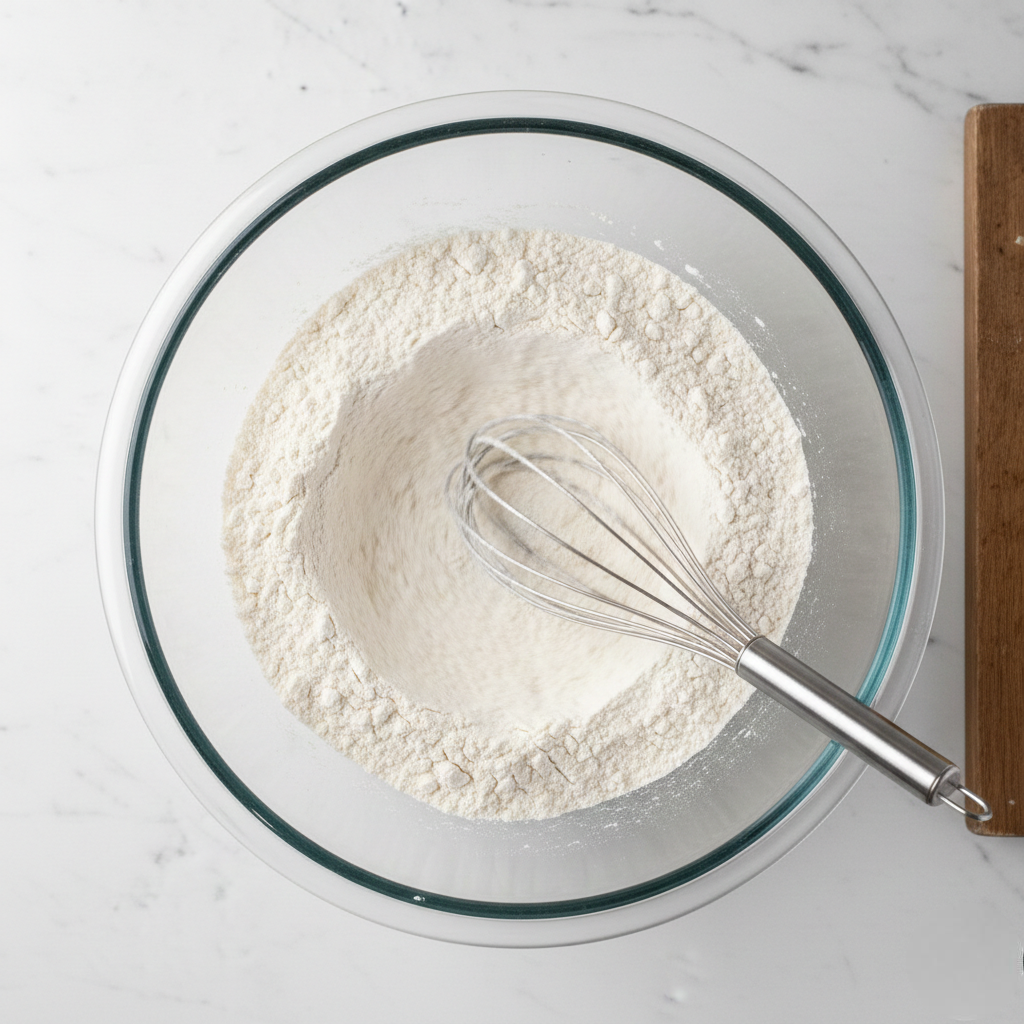
If you have a sieve, this is the perfect time to use it – this removes lumps and aerates your flour, making everything more uniform.
Whisk these together gently. This foundation matters more than you might think.
Step 2: Cut in the Cold Butter (The Most Critical Step)
This is where the magic happens. Add your cold butter cubes directly to the flour mixture.
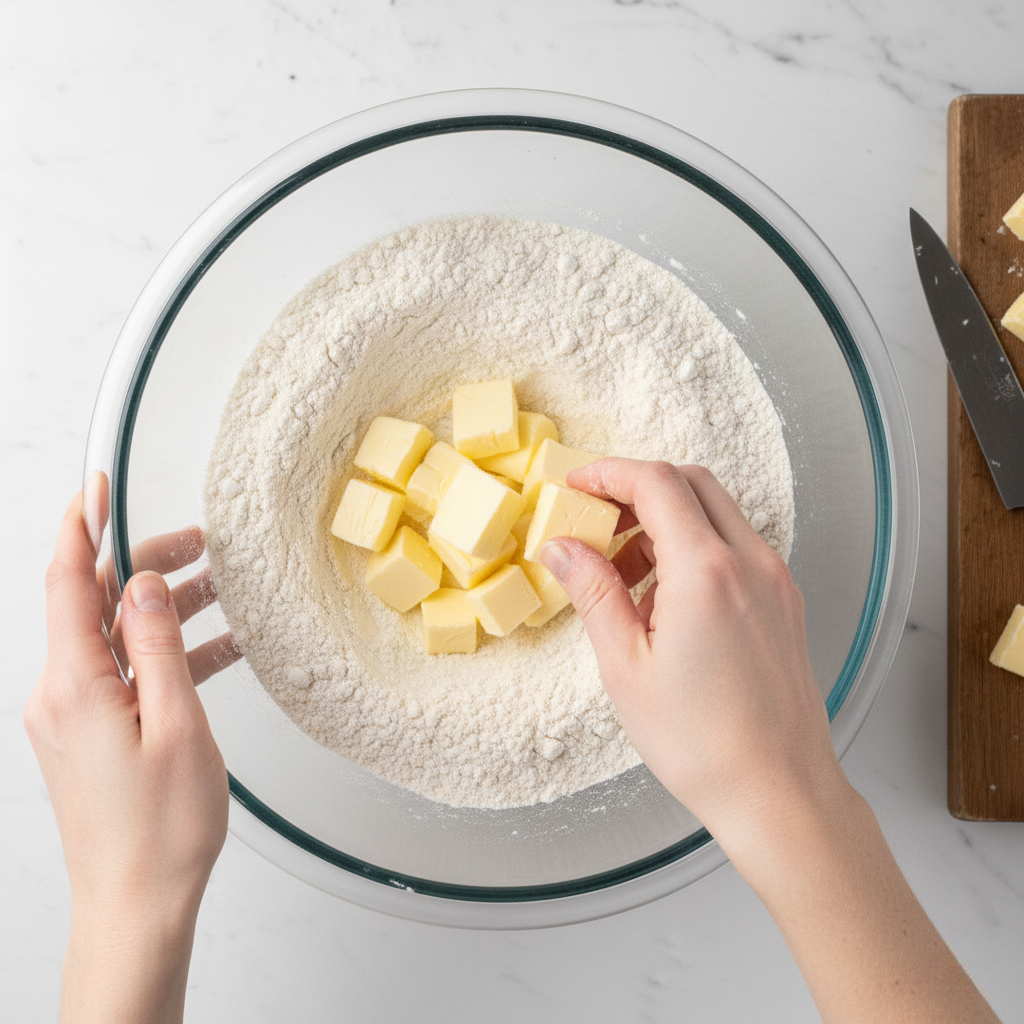
Now comes the meditative part: using your fingertips, work the butter into the flour.
You’re aiming for a breadcrumb-like texture – some pieces slightly larger, some finer.
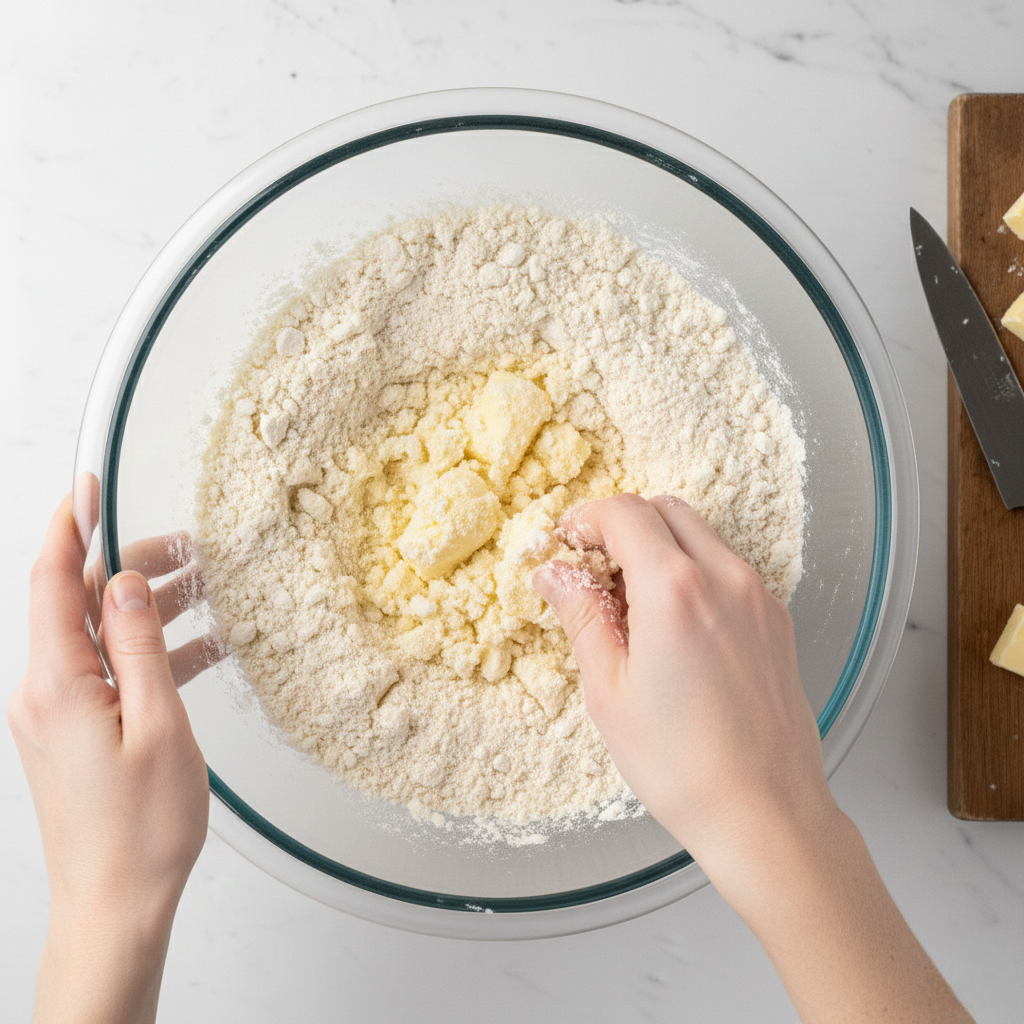
This should take about 5-7 minutes. Your butter must stay cold, because warm butter creates a greasy, tough crust. Cold butter creates steam during baking, which gives you those beautiful flaky layers.
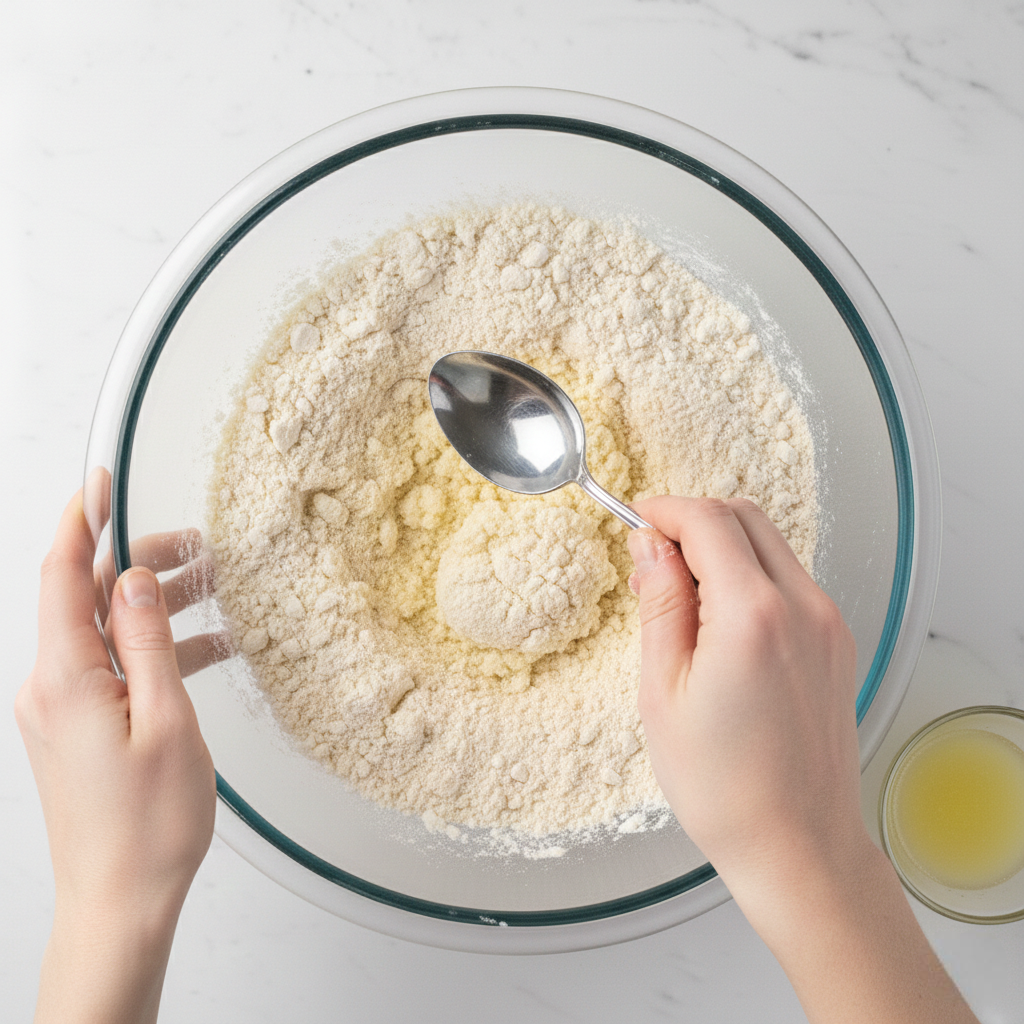
Step 3: Add Ice Water Gradually
Here’s where patience truly pays off. Add water one tablespoon at a time, gently mixing until the dough just comes together. Add your lemon juice if using.
The goal is a dough that holds together – not a sticky mess, not a dry crumble. This is crucial: once your dough looks cohesive, stop mixing. Overworking develops gluten, which makes crust tough instead of tender.
Step 4: Shape and Rest Your Dough
Divide the dough into two equal discs (this makes rolling easier later). Wrap each disc in plastic wrap and refrigerate for at least 30 minutes, though 2 hours is ideal.
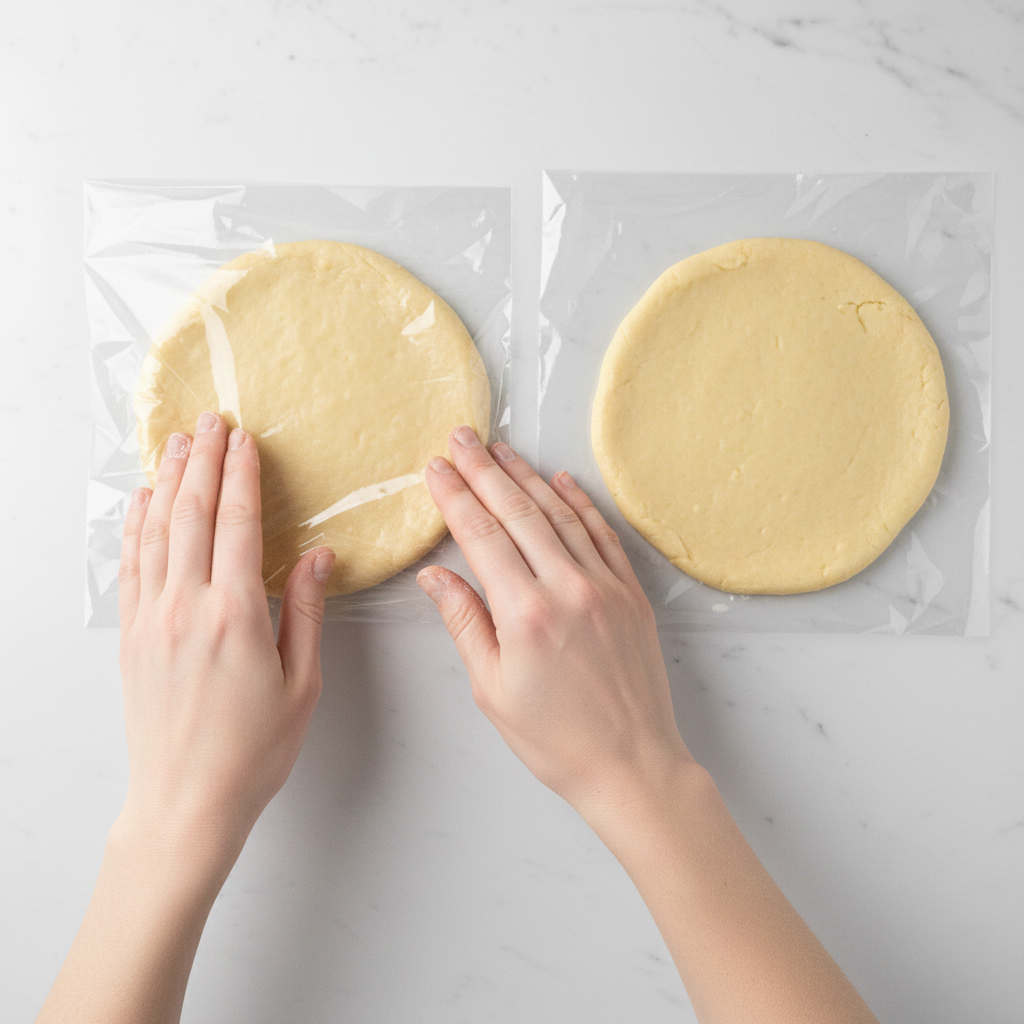
This resting period isn’t optional – it’s when the gluten relaxes and the flavors meld. Patience here rewards you later.
Step 5: Roll Out with Confidence
Remove one disc from the refrigerator. On a lightly floured surface, roll it into an 11-12 inch circle, about 1/8 inch thick. Work from the center outward in gentle strokes.
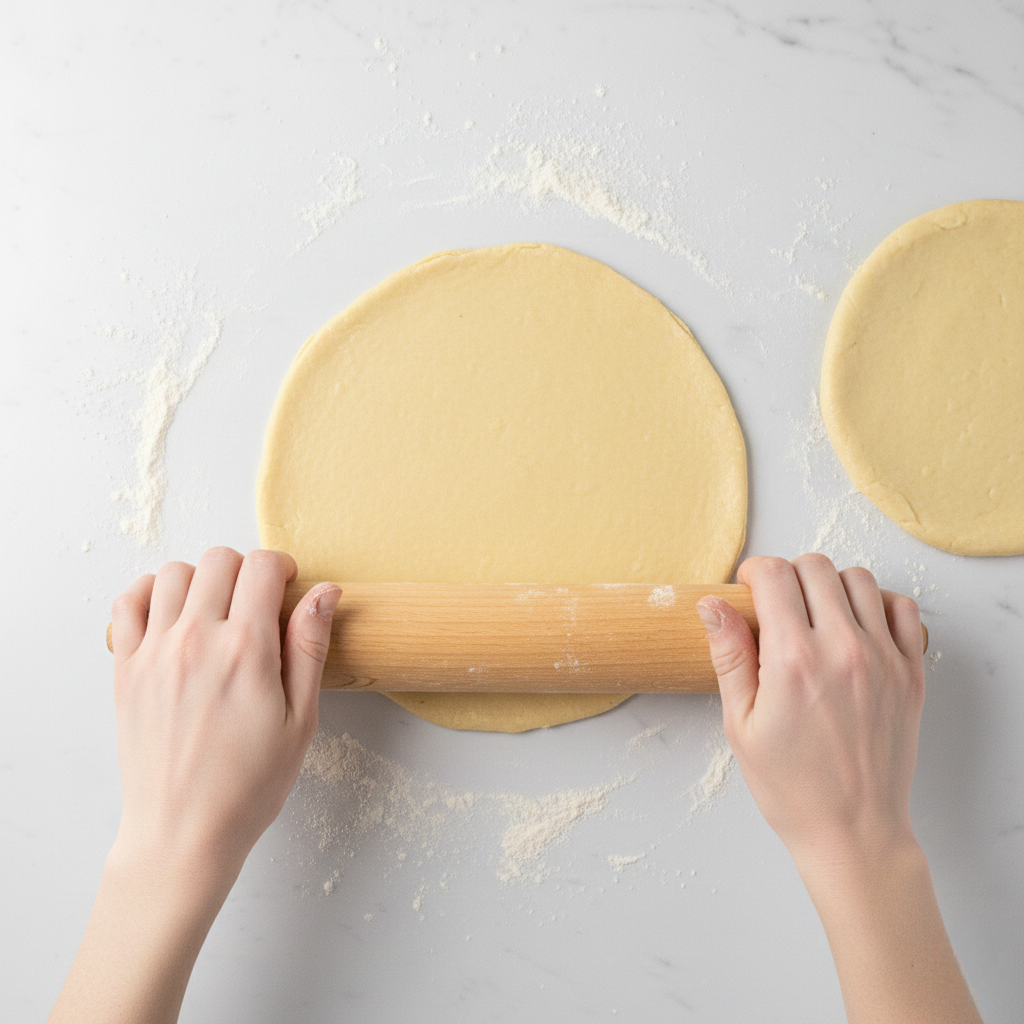
Gently transfer to your pie dish, letting it settle naturally into the corners.
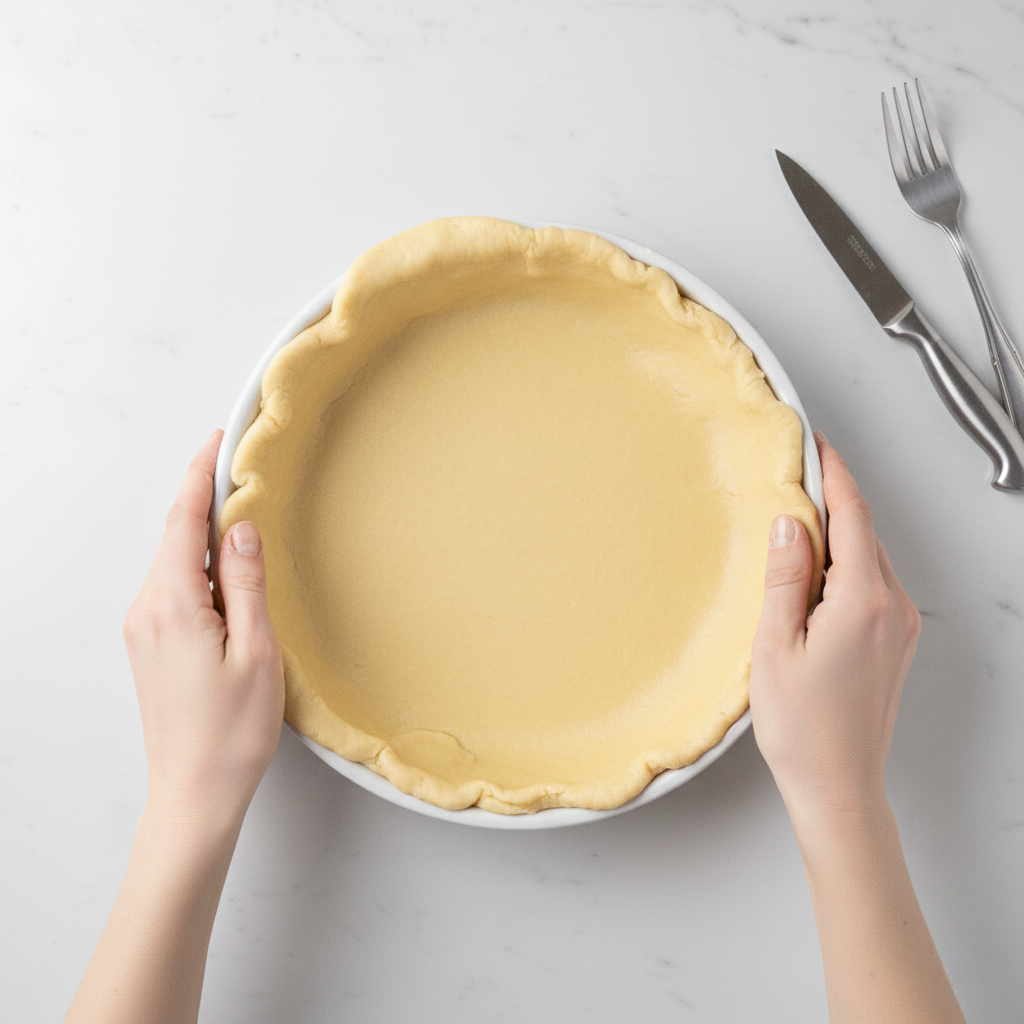
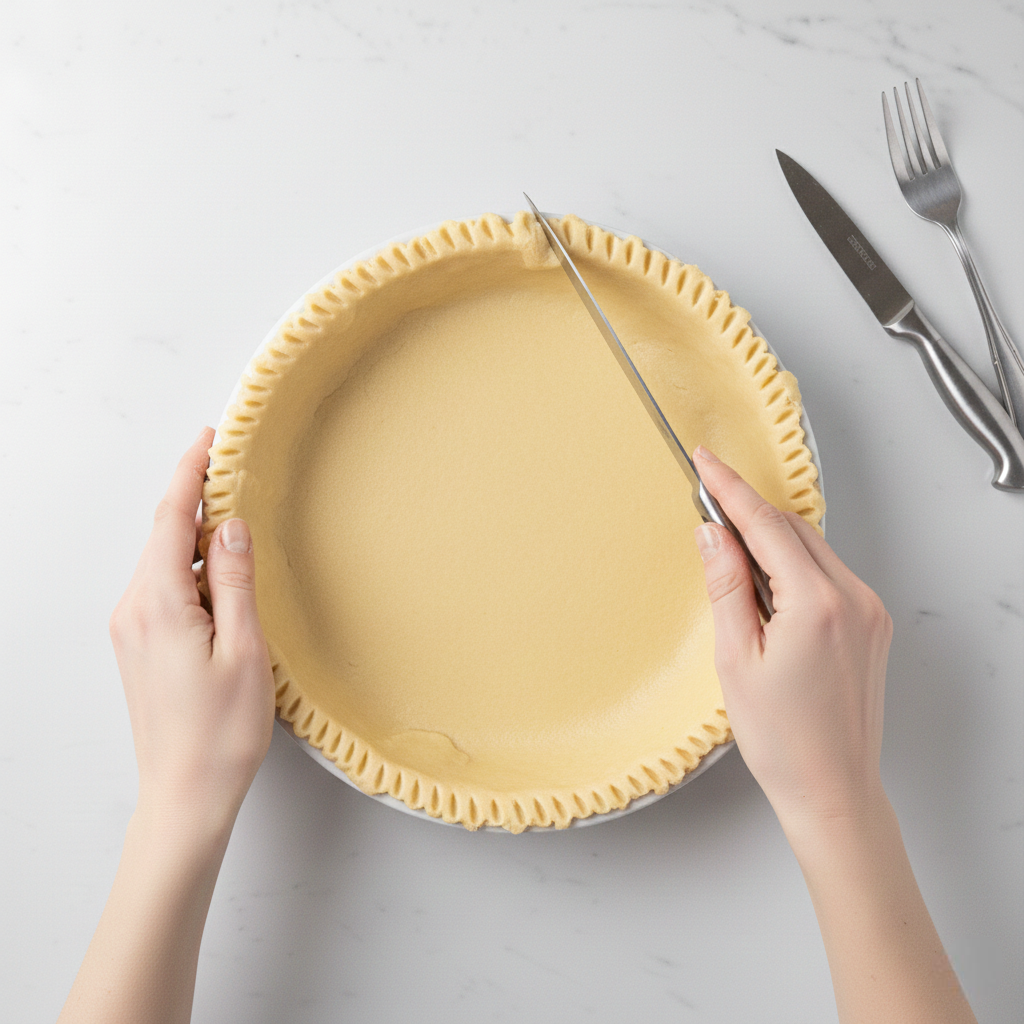
Trim the edges and crimp with your fingers or a fork.
Step 6: Pre-Bake for Extra Crispness
For added protection against a soggy bottom, blind bake at 375°F for 10-12 minutes.
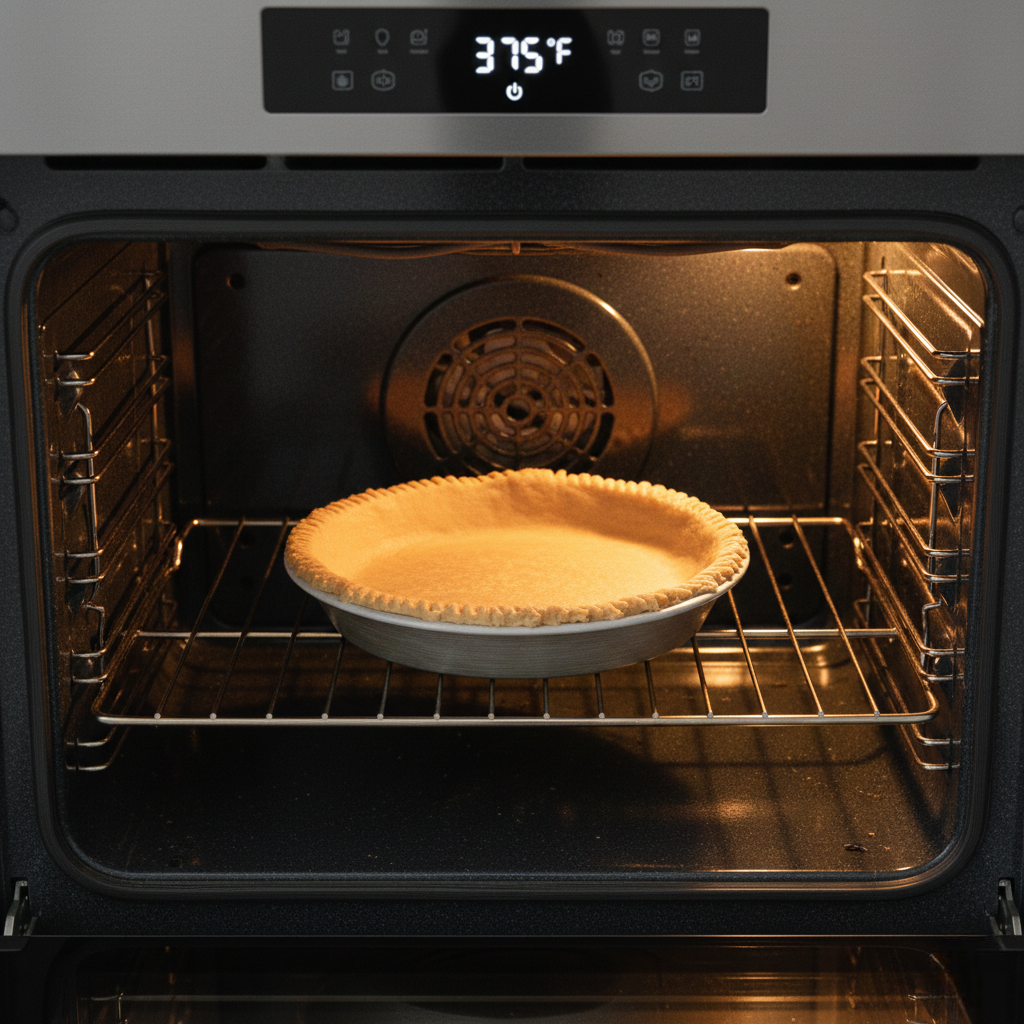
Cover the crust with parchment paper and fill with pie weights or dried beans.
This prevents the crust from puffing up and ensures even cooking.
Expert Tips That Make All the Difference
Keep Everything Cold: This cannot be overstated. Warm butter means warm dough means poor texture. Some bakers even chill their bowls and tools beforehand. If your kitchen is hot, keep ingredients in the freezer for 15 minutes before starting.
Less Water Than You Think: The most common mistake is adding too much water. Your dough should feel slightly dry – almost like it won’t hold together. Trust the process. Wet dough becomes tough dough.
Respect the Resting Time: You cannot rush this. While your dough rests, the flour fully hydrates, the gluten relaxes, and flavors develop. This 30-minute minimum is non-negotiable for success.
Avoid Overworking: Mix only until ingredients combine. Your hands generate warmth, so minimal handling means better results. Think gentle and deliberate, not vigorous.
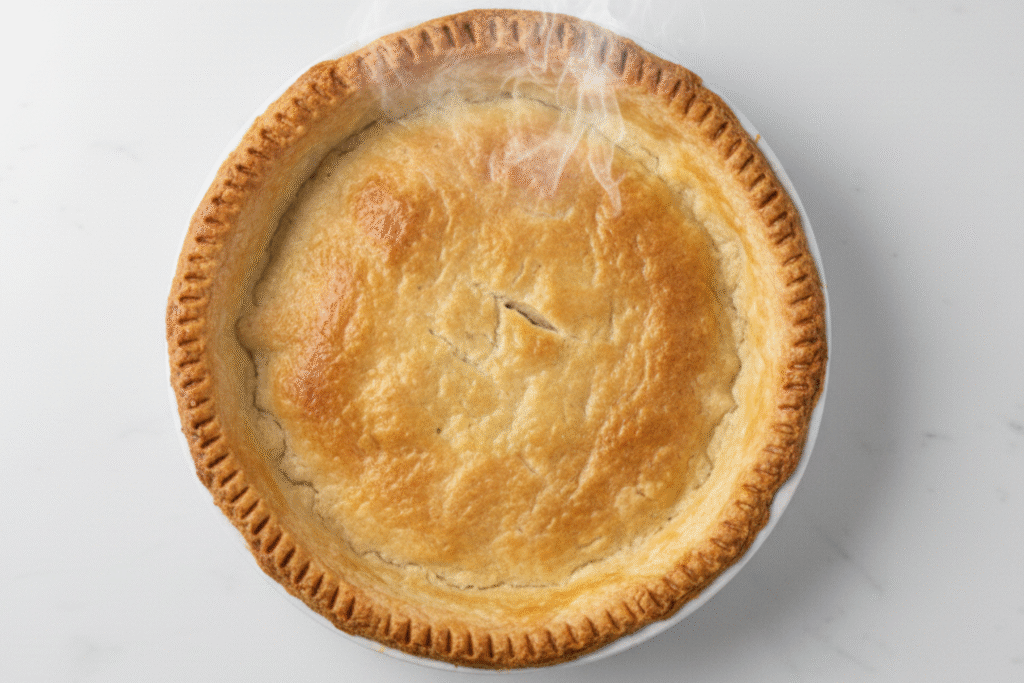
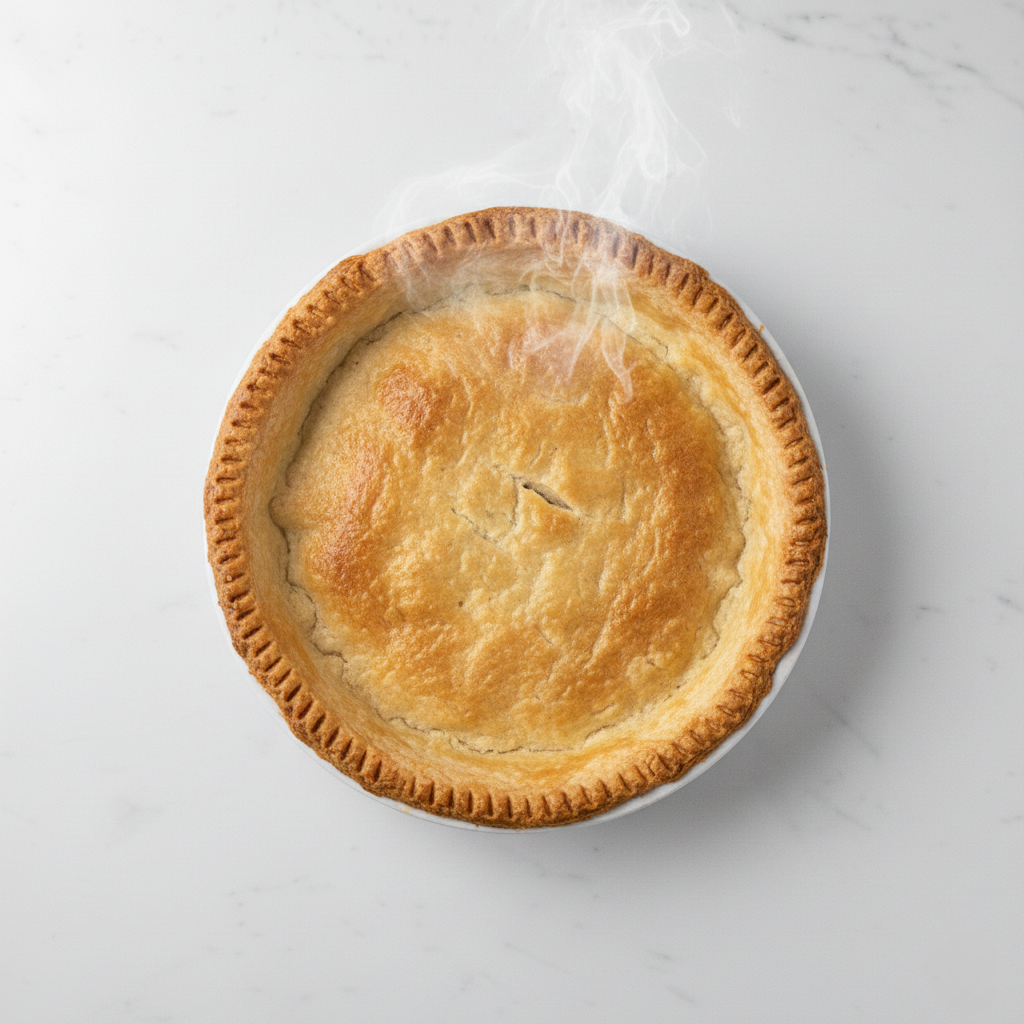
Appearance
Use Quality Flour: All-purpose flour works perfectly, but make sure it’s fresh. Old flour can absorb moisture differently, affecting your texture.
Frequently Asked Questions
Q1: What if my dough tears while I’m rolling it? No problem at all. Pie crust is very forgiving. Simply patch the tear by pressing a small piece of dough over it. During baking, everything seals together beautifully. Don’t stress – imperfect crusts still taste amazing.
Q2: Can I substitute butter with something else? You can use cold vegetable shortening for a very flaky crust, or even lard for traditional results. Never use oil or melted butter – these produce completely different (and inferior) textures. Stick with solid fats.
Q3: How long can I store pie dough? Keep it in the refrigerator for 2-3 days, or freeze it for up to 3 months. Thaw frozen dough in the refrigerator before rolling. Dough actually improves with a day or two of rest.
Q4: Why do air bubbles form during baking? This happens when steam gets trapped. During blind baking, prick the crust with a fork or use pie weights. For fully-baked pies, these small bubbles usually don’t affect the final result much.
Q5: What should I do if my dough becomes too sticky? Add a tablespoon of flour and refrigerate for 15 minutes. A slightly sticky dough can be challenging to work with. Cold dough is always more manageable than warm dough.
Final Thoughts
Making homemade apple pie crust is more than just following steps – it’s about understanding the why behind each action. Cold butter creates flaky layers. Resting time allows gluten to relax. Minimal water keeps the dough tender. These aren’t arbitrary rules; they’re the foundations of great pastry.
Your first attempt might not be Instagram-perfect, and that’s completely fine. Every professional baker has made mistakes. What matters is that you tried, you learned, and you created something with your own hands. That homemade crust, imperfect as it might be, will taste infinitely better than anything store-bought.
So gather your ingredients, find a cool kitchen, and give this a try. The reward – that golden, buttery, flaky crust holding a beautiful apple filling – is absolutely worth the effort.