
Picture this. Standing at the airport, stomach growling, staring at a menu where a basic sandwich costs fifteen dollars. That’s the moment when having a homemade snack feels like genius planning. The peanut butter and jelly sandwich isn’t just food. It’s the ultimate travel companion that saves money, fills the stomach, and survives any journey.

Why This Sandwich Rocks for Travel
What makes it perfect? Simple. It needs no refrigeration. It won’t leak or create a mess in the bag. The peanut butter provides protein and lasting energy. The jelly adds quick fuel. Together, they create a snack that stays fresh for hours and actually satisfies hunger. While others scramble for expensive airport food or sad gas station snacks, having a PB&J means being prepared.
Table of Contents
What’s Needed
- 2 slices of bread (sturdy variety like whole wheat)
- 3 tablespoons peanut butter
- 2 tablespoons jelly or jam
- Butter knife
- Plastic wrap or sandwich bag
- Napkins
Step-by-Step Instructions
Step 1: Prepare the Workspace
Wash hands thoroughly. Clear a clean counter space. Lay out all ingredients and tools within reach. Organization prevents mess and ensures nothing gets forgotten.
Step 2: Select the Bread
Take two fresh slices from the middle of the loaf.

Avoid end pieces as they dry out quickly. Choose sturdy bread like whole wheat or multigrain that won’t fall apart during travel. Place both slices flat on the counter, side by side.
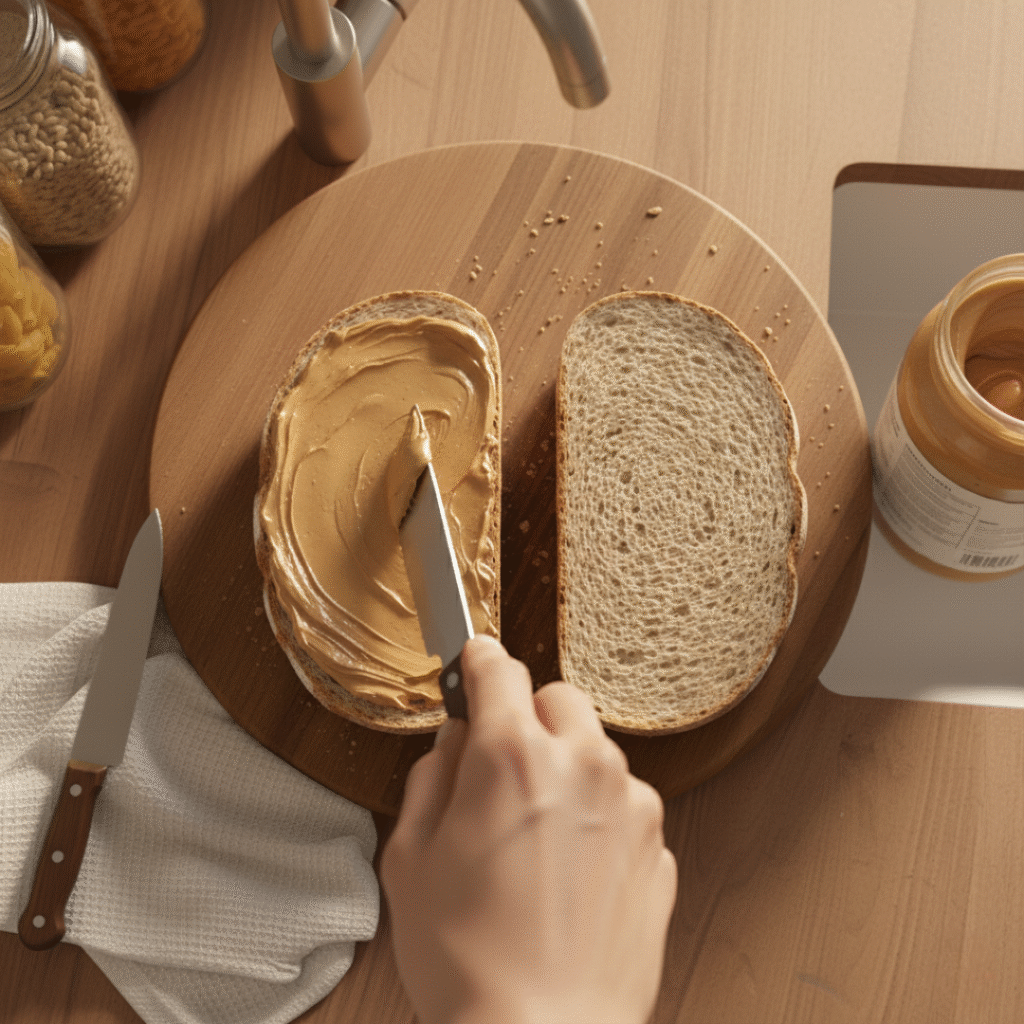
Step 3: Spread the Peanut Butter
Open the peanut butter jar. Scoop 3 tablespoons onto the knife. Place it on the first slice of bread in the center.
Now spread outward using firm, even strokes. Start from the middle and push toward the edges. Cover every corner and edge completely. Leave no bare spots. This creates a waterproof barrier that prevents the jelly from making the bread soggy later. The layer should be thick and uniform across the entire slice.
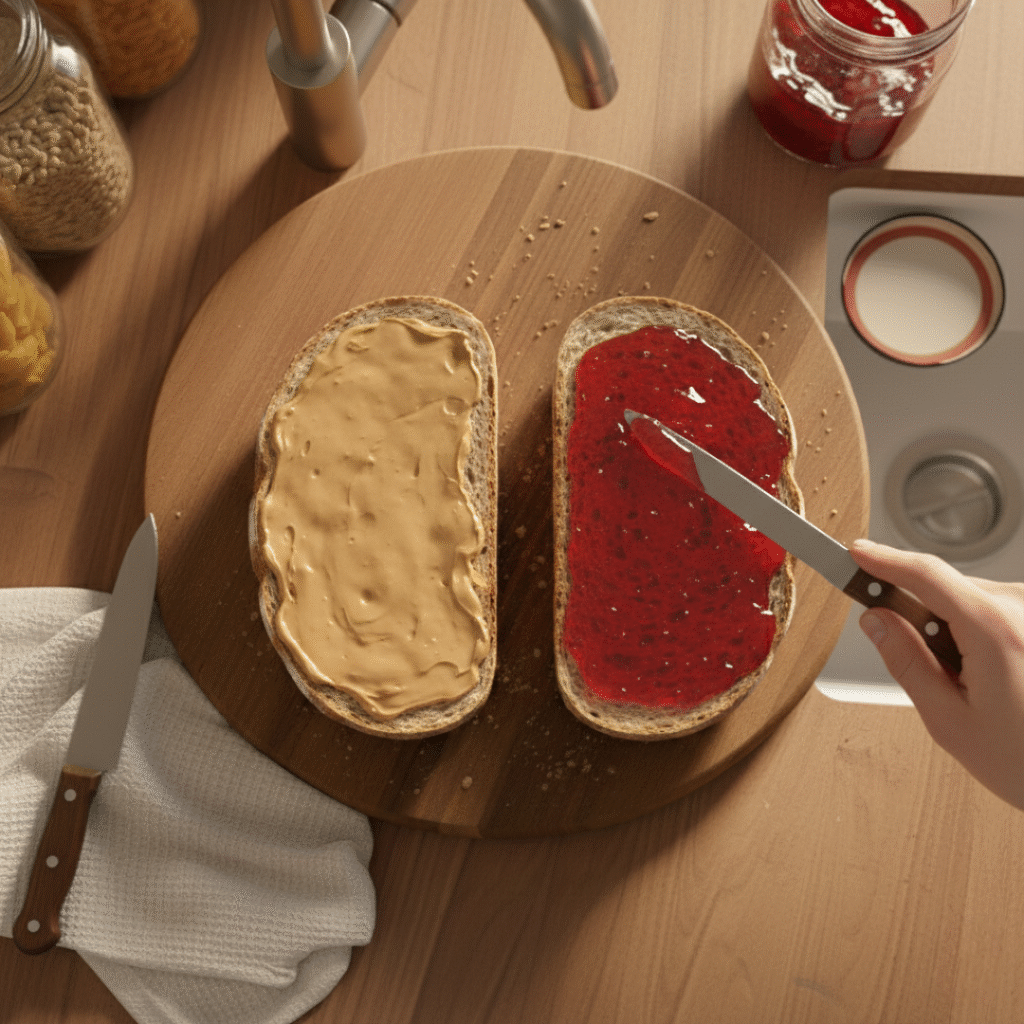
Step 4: Apply the Jelly
Take the second slice of bread. Open the jelly jar and scoop out 2 tablespoons. For travel sandwiches, less is more. Too much jelly creates excess moisture.
Place the jelly in the center of the second slice. Spread it outward gently using smooth motions. Cover the entire surface but keep the layer thin and even. Jelly spreads easier than peanut butter, so use a lighter touch to avoid tearing the bread.
Step 5: Assemble the Sandwich
Carefully lift the jelly-covered slice. Flip it over onto the peanut butter slice so the spreads meet in the middle.
Press down firmly around all four edges to seal them together. Then press gently but firmly across the entire sandwich surface. This compression makes the sandwich compact and prevents the slices from sliding apart during travel. The sandwich should feel like one solid unit, not two loose pieces.
Step 6: Wrap It Properly
This step is crucial for travel success. Take a large piece of plastic wrap or open a sandwich bag.
Place the sandwich in the center of the wrap. Fold the plastic wrap tightly around all sides, making sure no gaps exist.
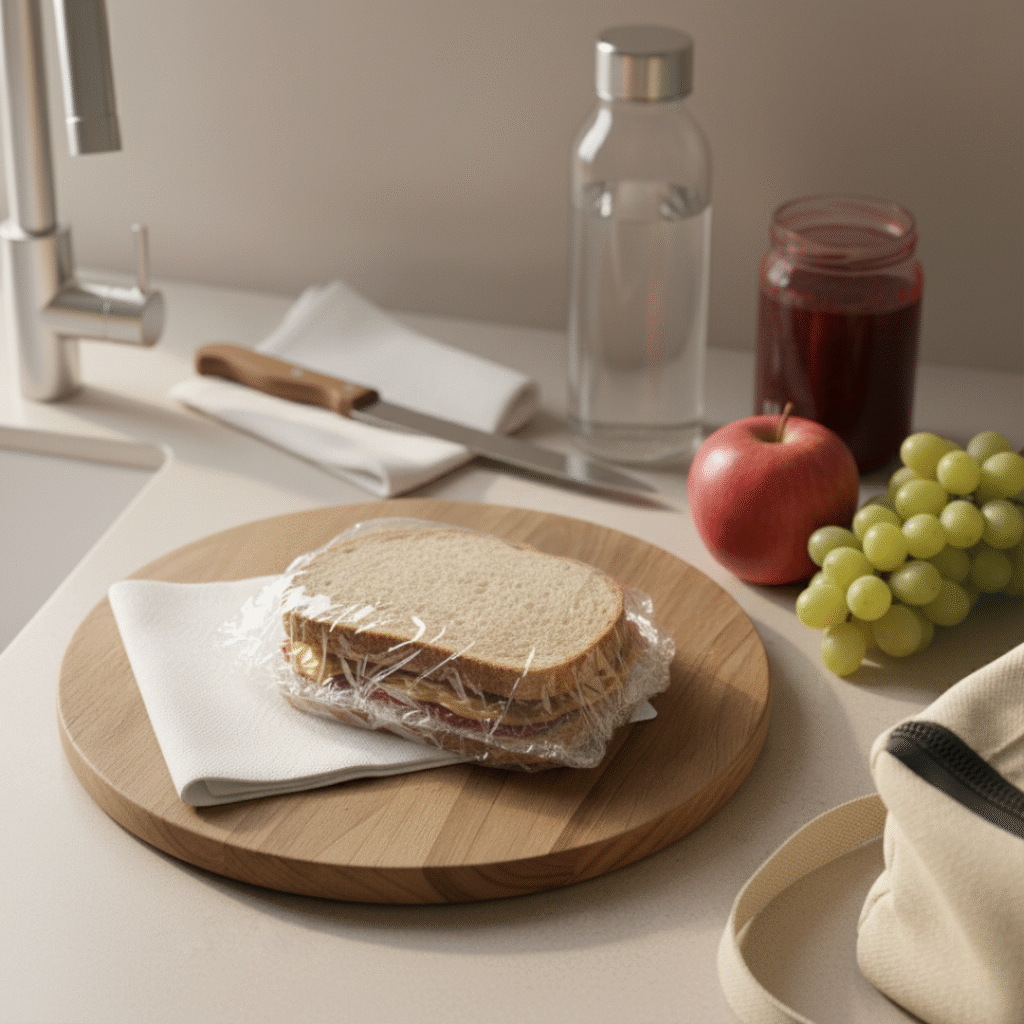
If using plastic wrap, twist the ends and tuck them underneath the sandwich. If using a bag, squeeze out all excess air before sealing it shut.
The wrap creates an airtight seal that keeps the sandwich fresh and prevents any potential leaking. Add a napkin or two inside the bag for convenience.
Step 7: Pack and Go
Place the wrapped sandwich in a backpack, purse, or carry-on bag. It’s now ready for any journey. This sandwich stays good at room temperature for 6-8 hours, making it perfect for day trips, flights, road trips, or hiking adventures.
Smart Travel Tips
Want to make it even better? Toast the bread lightly before spreading for extra crunch that lasts longer. Use natural peanut butter as it tends to be thicker and more stable. Choose jam over jelly because it’s less runny. Pack the sandwich in a hard container if the bag will get squished.
The Bottom Line
A homemade PB&J costs about fifty cents and delivers real satisfaction. Airport sandwiches cost ten times more and disappoint. Gas station options aren’t better. This simple sandwich removes food stress from travel, provides steady energy, and proves that smart preparation beats expensive convenience every time.
Next time a trip is planned, skip the worry about travel food. Make this sandwich following these exact steps, pack it properly, and head out confidently. The journey becomes easier when hunger isn’t a concern.