
Listen, making sushi at home sounds scary, right? Like you need some fancy training or something. Like you have to go to some secret sushi academy or watch like a hundred YouTube videos before you can even think about touching nori. But honestly? It’s way simpler than you think. I’m gonna break it down for you in a way that actually makes sense—no fancy chef talk, just real steps that work. No confusion, no complicated terms, just straightforward instructions that any person in their kitchen can follow.
Seriously, I know tons of people who thought sushi was this untouchable thing that only professionals could make. Then they actually tried it at home and realized it’s not that big of a deal. It’s like making a sandwich but a little fancier. Once you get the hang of it, you’ll be making rolls like you were born doing it. And your family and friends? They’re gonna lose their minds thinking you’re some culinary expert.

Why Salmon Sushi Rocks and Why You Should Make It
Okay so salmon sushi is basically the king of sushi. It’s fresh, it tastes absolutely amazing, and when you roll it yourself at home, people think you’re some kind of culinary genius. Seriously, serve this at a party and everyone’s gonna be impressed. The thing is, it’s actually pretty straightforward once you know what you’re doing.
Try these Recipes also:
Here’s the real deal – the rice is the biggest deal in the whole operation. Get that right and everything else just falls into place. Then the salmon quality matters because you’re basically tasting it raw, so it’s gotta be good. And then you just gotta learn how to roll it without making a mess. That’s literally it. Those are the three things. Once you nail those three things, you’re golden.
Plus, homemade sushi is way fresher than what you get from most places. You know exactly what’s going into it. No weird preservatives or anything. Just pure ingredients that you picked yourself. And it’s honestly not even that expensive to make. You can impress people for like less money than taking them out to eat. So it’s a win-win situation really.
What You Actually Need to Buy
Before you start, grab these things. Seriously, don’t skip around trying to use whatever rice you have in your pantry.
For the Rice Stuff:
- 2 cups of Japanese short-grain rice (THIS is important, not regular rice)
- 2.5 cups of water
- 3 tablespoons rice vinegar
- 2 tablespoons sugar
- 1 teaspoon salt
For Making the Rolls:
- 4 sheets of nori (it’s the seaweed stuff)
- 200 grams fresh salmon – get it from somewhere good, not the sketchy frozen kind
- 1 avocado that’s actually ripe
- 1 cucumber
- A little bit of wasabi
- Soy sauce to dip in
- Pickled ginger if you want it
Tools You Gotta Have:
- A bamboo rolling mat (seriously worth like 5 bucks)
- A sharp knife – doesn’t have to be fancy
- A bowl of water
- A wooden spoon
- A cutting board
Actually Making It – The Real Steps
Step 1: Get Your Rice Ready
Okay so first thing – you’re gonna rinse your rice. Like a lot. Pour it into a strainer and run cold water over it. Keep rinsing and stirring it around until the water stops looking all cloudy and milky. Do this like five or six times. I know it seems annoying but trust me, this matters because you don’t want mushy rice later.
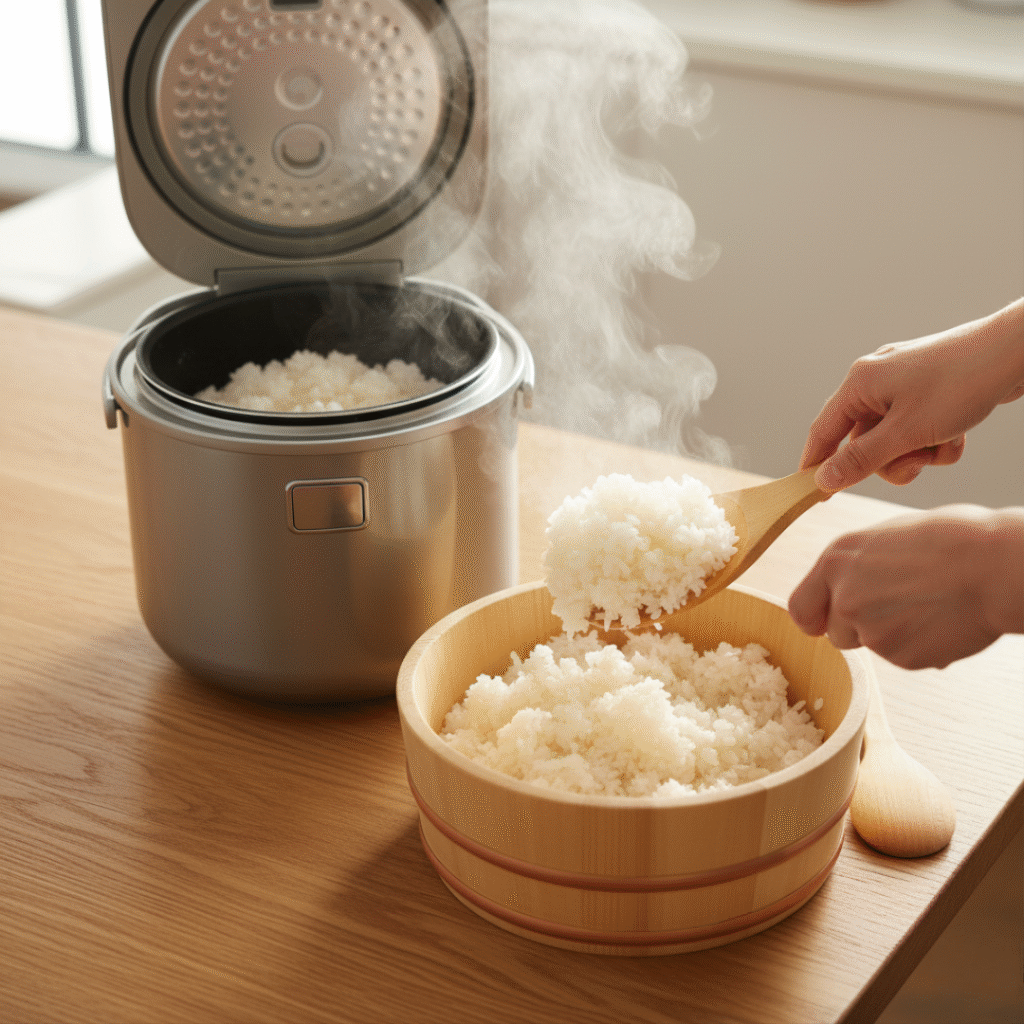
Now throw your clean rice into a rice cooker with 2.5 cups of water. If you’ve got a rice cooker, just hit the button and let it do its thing. Don’t have one? That’s fine – put it in a pot with a lid, bring it to a boil, then turn it down low and let it sit there for about 15 minutes. Just leave it alone, don’t keep checking on it.
Step 2: Make the Vinegar Stuff
While your rice is cooking, you’re gonna make this seasoning mix. Get a small bowl and throw in 3 tablespoons of rice vinegar, 2 tablespoons of sugar, and 1 teaspoon of salt. Warm it up a little bit – you can do this in a pot or just pour it into a bowl and let it sit. The point is just to get the sugar and salt to dissolve. Not complicated.
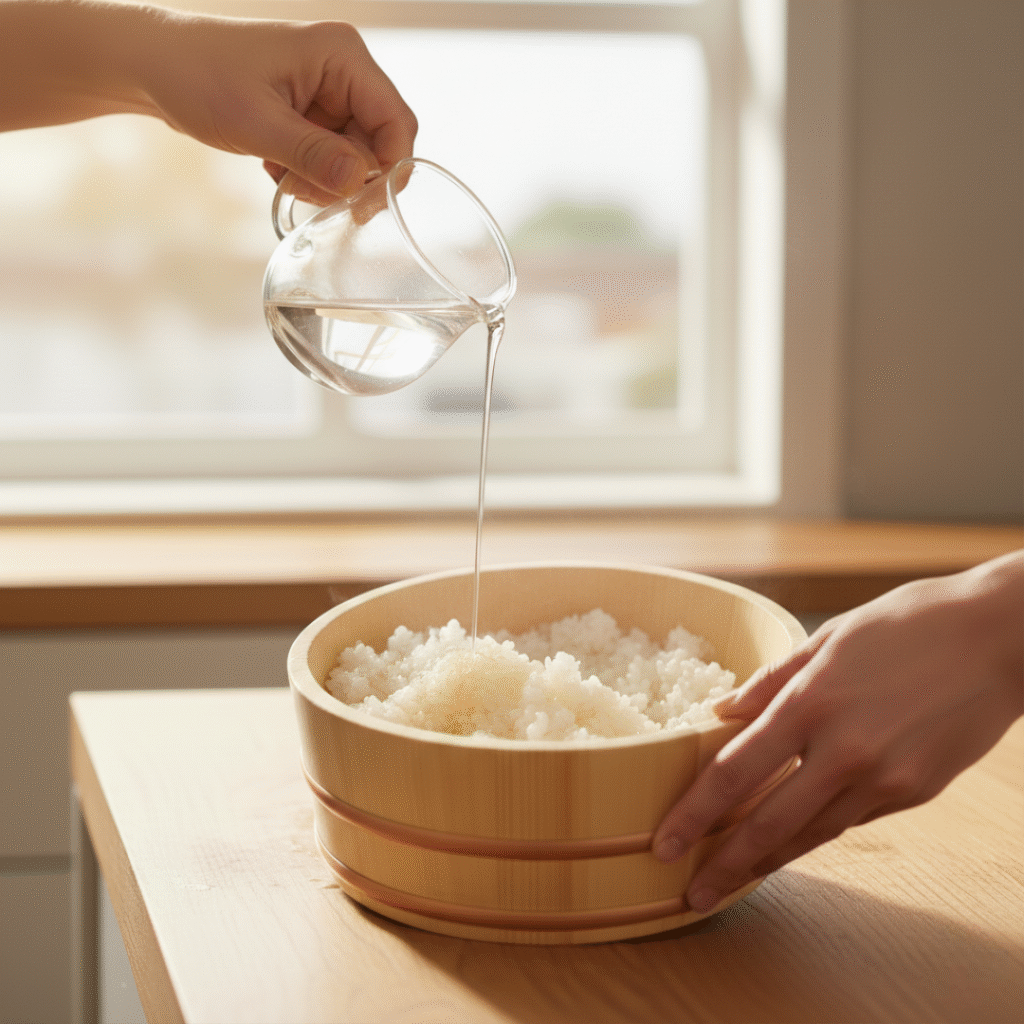
When your rice is done cooking, dump it into a big bowl – wooden is nice if you have it but whatever works. Now here’s the thing – pour that vinegar mix onto your hot rice, but do it slowly, okay? And then instead of stirring like you’re angry, you’re gonna gently fold it together. Use a wooden spoon and basically cut down through the rice while turning the bowl. You’re mixing it but being all gentle about it. This should take like a minute or two. The rice should look shiny and smell like sushi vinegar now.
Let this rice cool down while you do other stuff. Like 10-15 minutes. Don’t rush this – your rolls will be soggy if the rice is still hot.
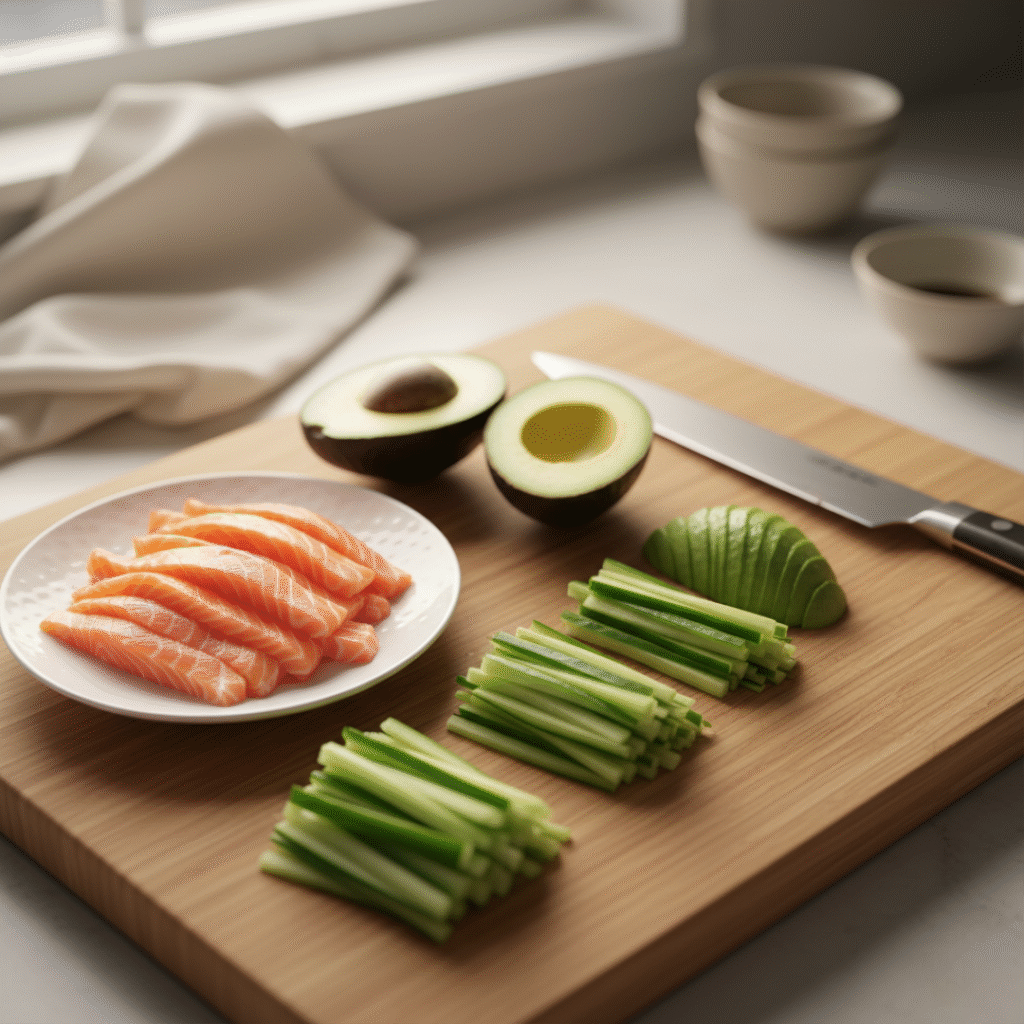
Step 3: Prep Your Fillings
Here’s where you actually need to pay attention. Slice your salmon into thin strips – like pencil-thin. Get it from somewhere you trust because this is the money ingredient.
Cut your avocado in half, take the pit out, and slice it lengthwise. Do this right before you start rolling though because avocados go brown super fast.
Cut your cucumber into thin sticks. Just thin matchsticks basically. Arrange everything on your counter so it’s right there when you need it.
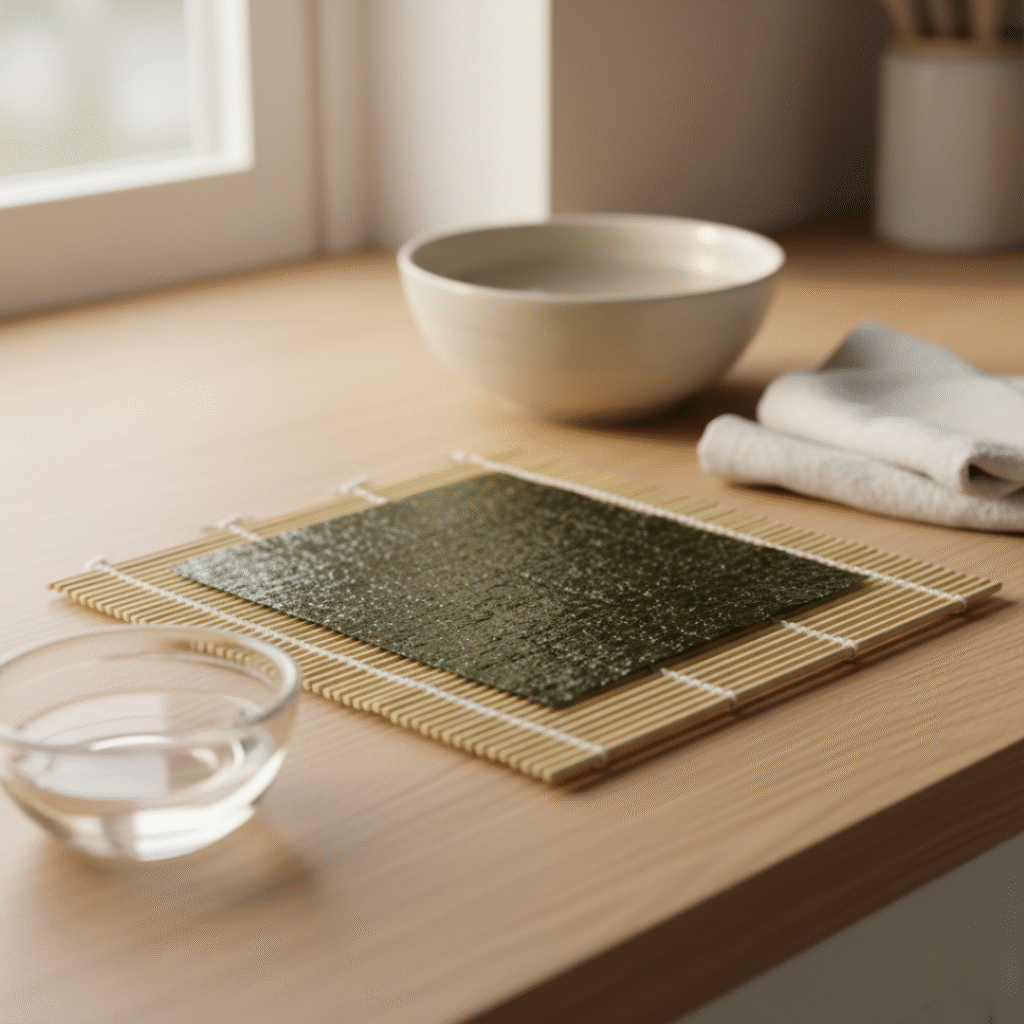
Step 4: Set Up Your Rolling Spot
Put your bamboo mat down flat in front of you. Put one sheet of nori on top – the shiny side should be down, rough side up.
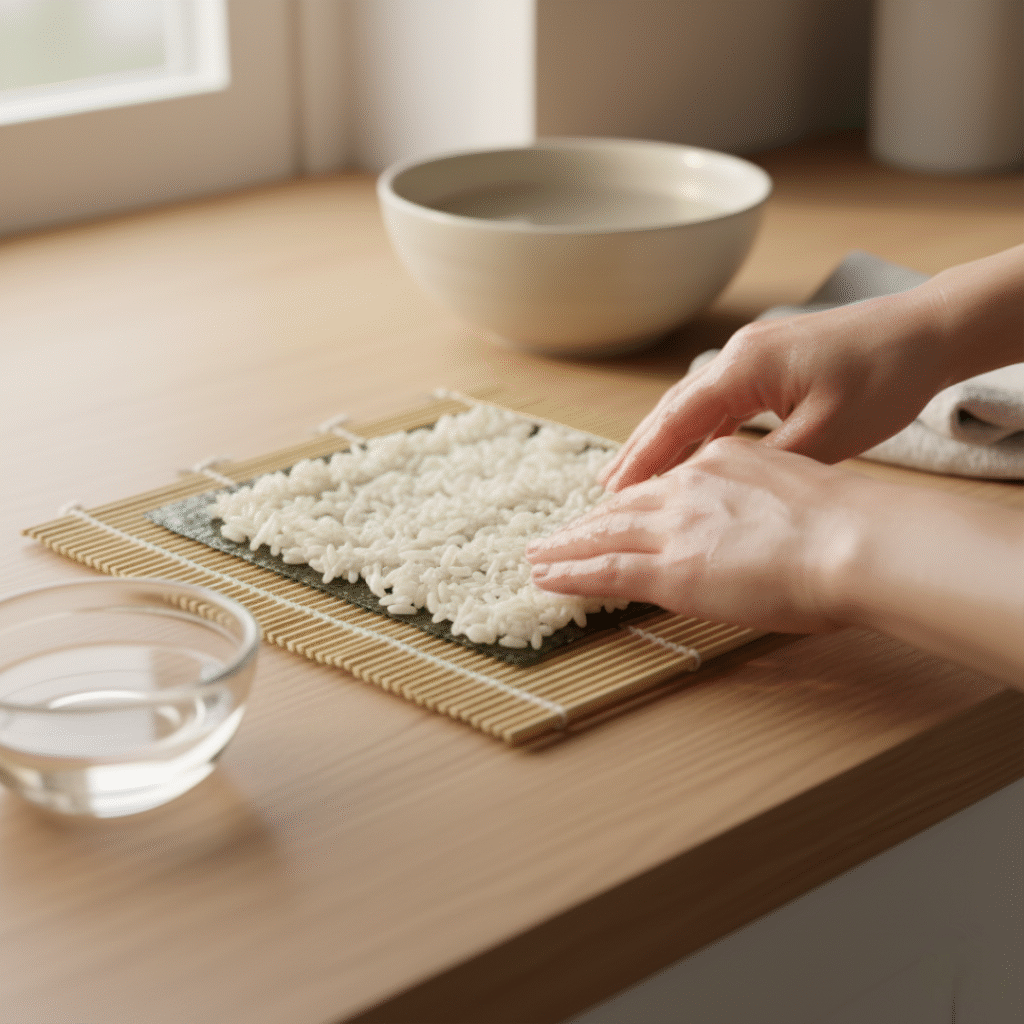
Now here’s pro tip number one – get your hands wet with water that has a tiny bit of vinegar in it. This keeps the rice from sticking all over your hands like glue.
Take about half a cup of that cooled rice and spread it all over the nori. Use your fingers to make it even. BUT – and this is important – leave about half an inch at the top with no rice on it. That empty strip is gonna seal everything later.
Step 5: Put Your Fillings In
Okay so in the middle of your rice, you’re gonna make a little line with your ingredients. Put a tiny bit of wasabi down first, then salmon, then avocado, then cucumber. Don’t go crazy here – you don’t need a ton of stuff. Just enough so you can see it in each bite.
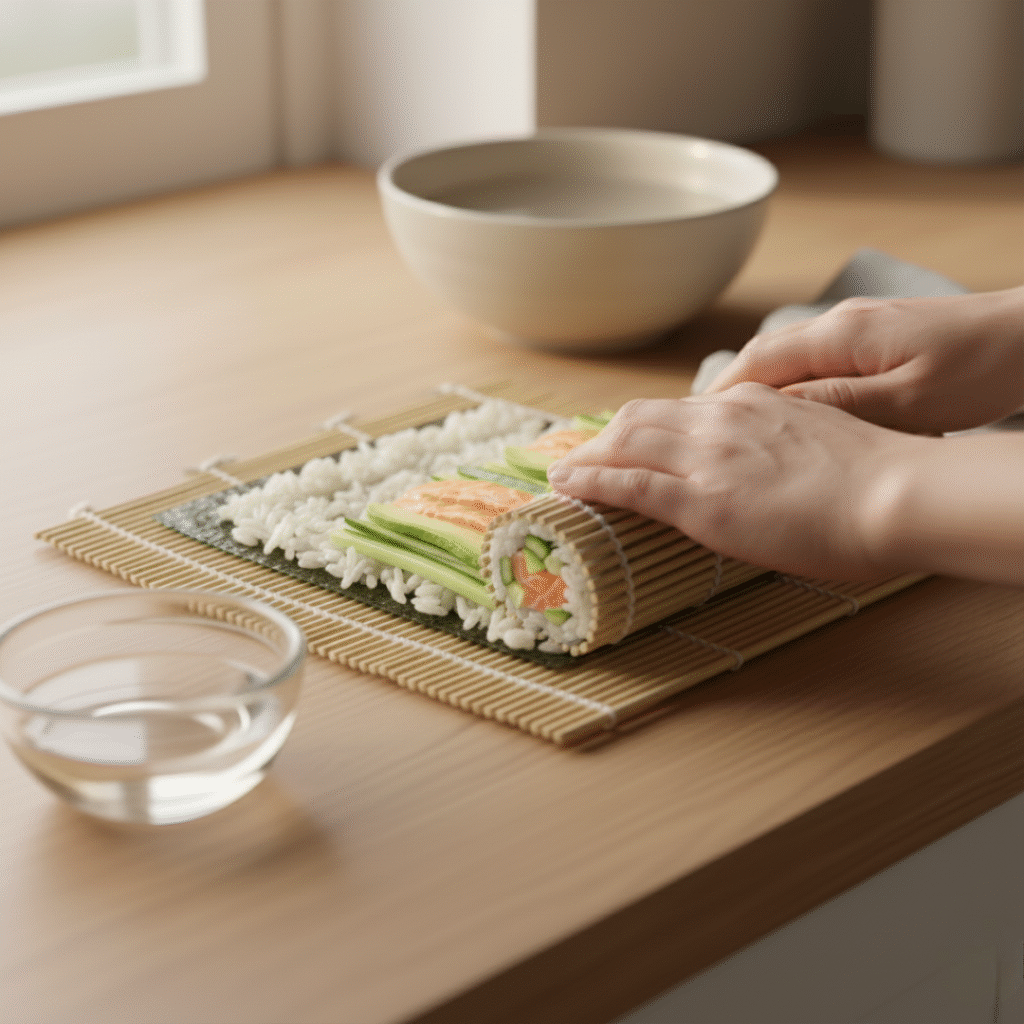
Step 6: Actually Roll the Thing
This is the moment. Grab the bottom edge of your bamboo mat and start rolling away from you. Use the mat to push everything together tight. Not too crazy but firm enough that it actually holds together. Keep rolling until you get to that bare nori strip at the top.
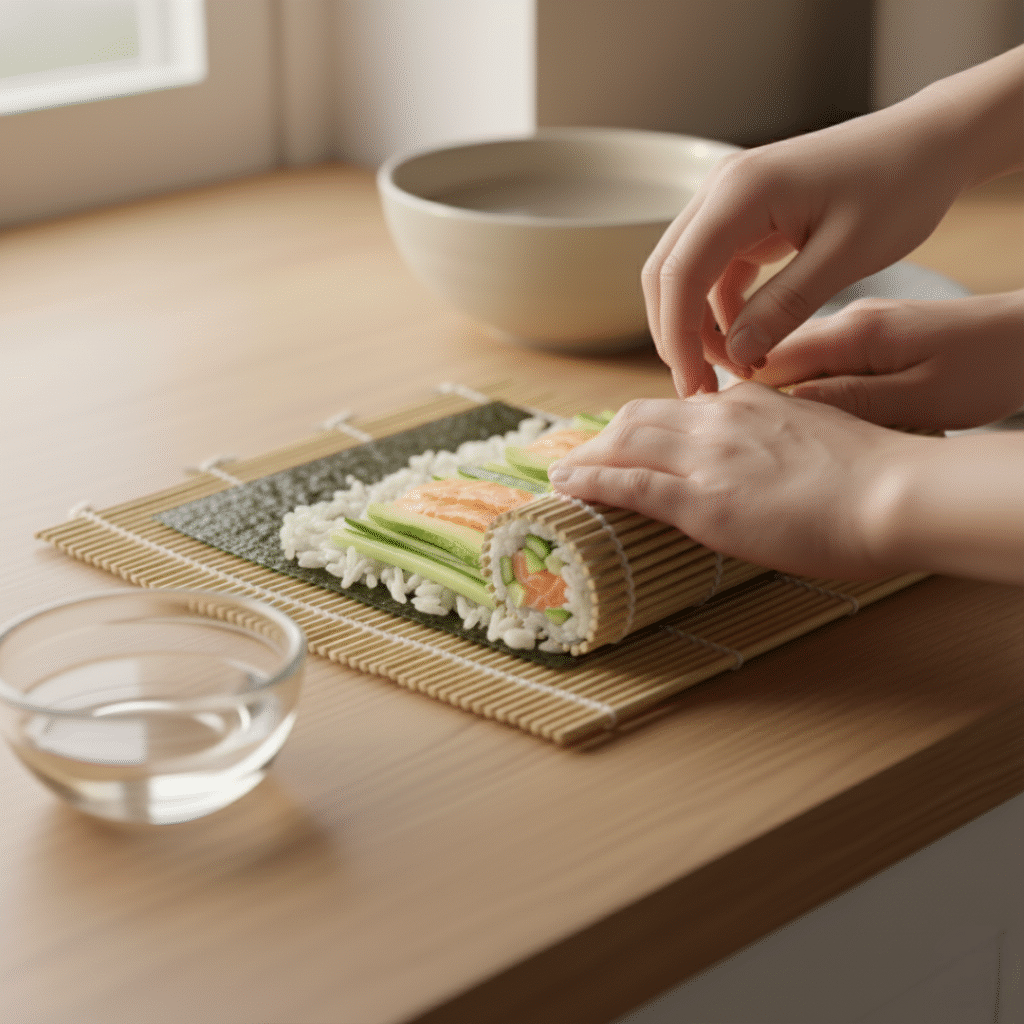
When you get there, wet that edge with a little water on your finger. Then finish rolling so that wet edge glues itself to the rest of the roll. Done. Actually kind of cool when it works right?
Leave it in the mat for like 10 more seconds just to make sure everything’s solid.
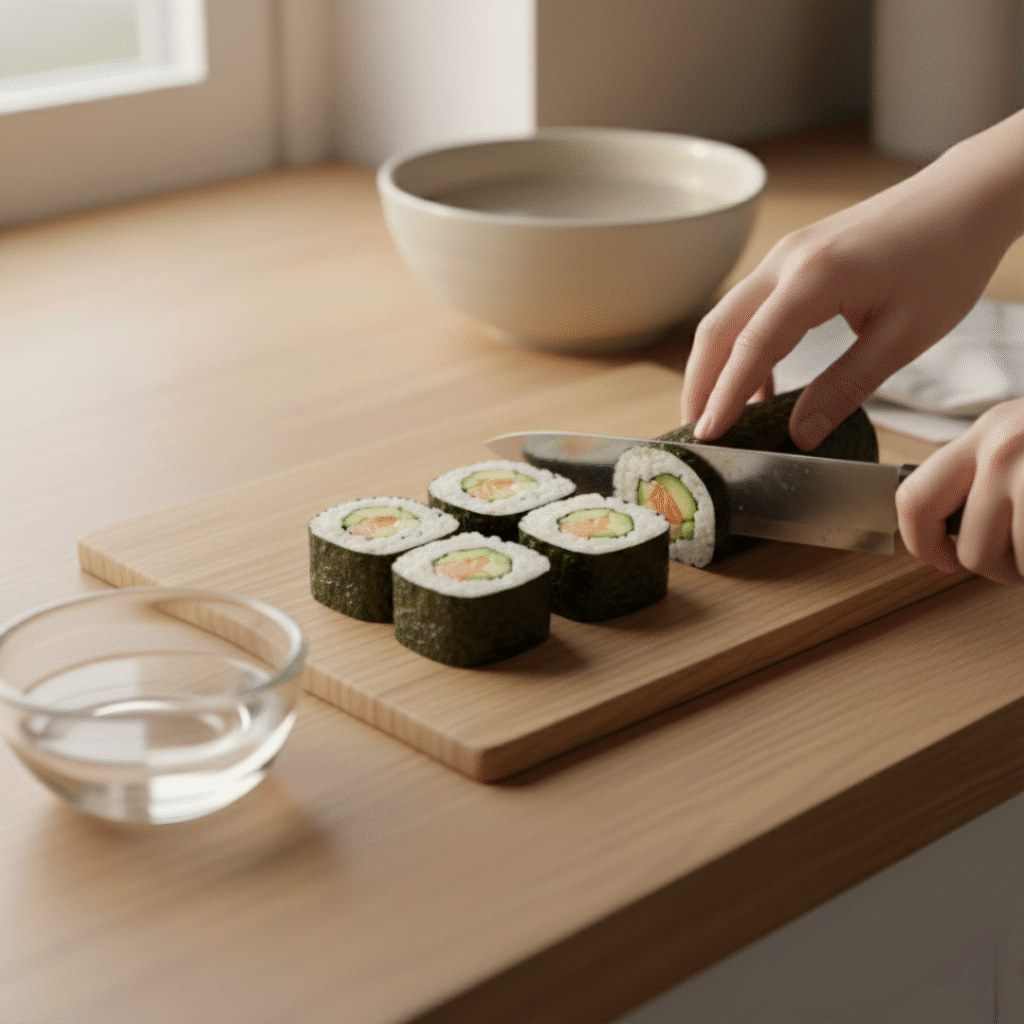
Step 7: Slice It Up
Take the roll out of the mat and put it on your cutting board. Get your knife wet – like actually wet it with water.
Cut the roll in half first. Then cut each half into thirds or quarters depending on how many pieces you want. The key is wettin your knife between each cut so the rice doesn’t stick to it and make a mess.
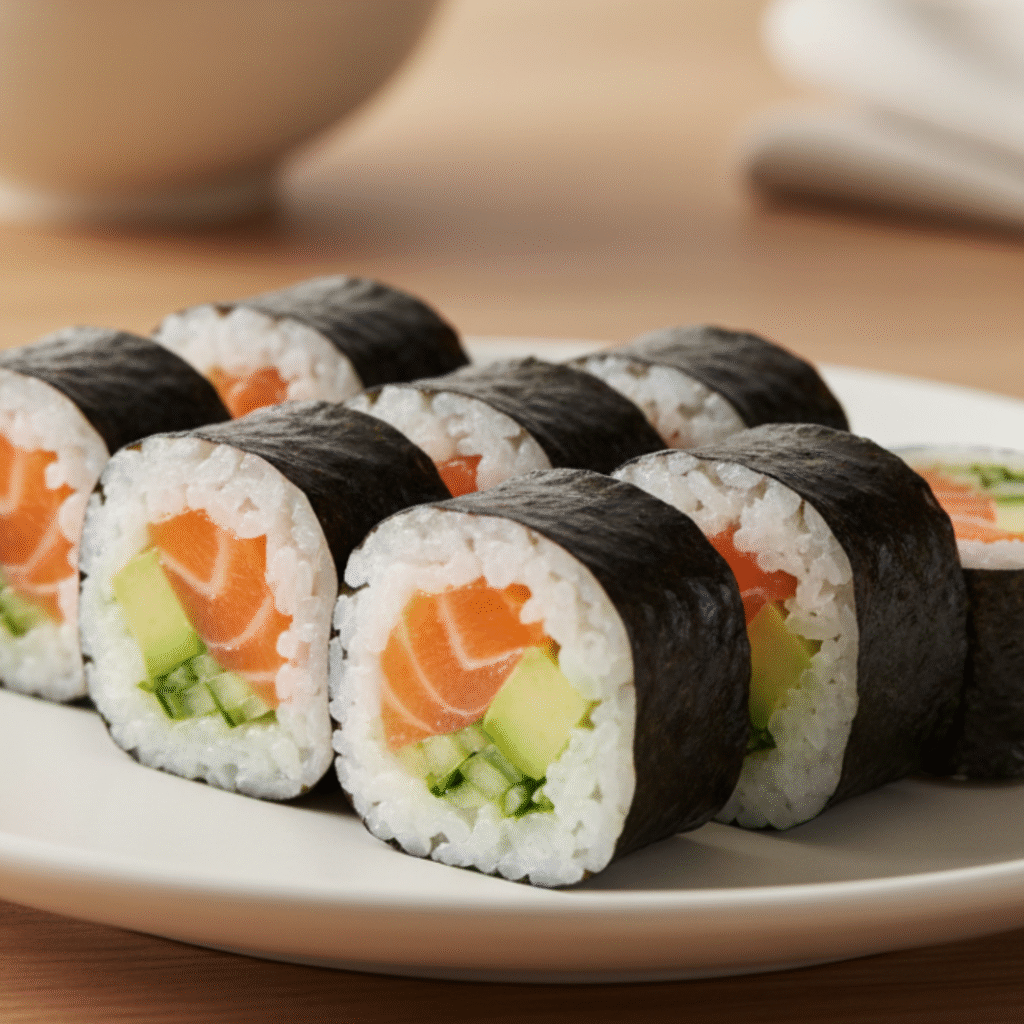
You should end up with like 6-8 beautiful pieces that look all spirally.
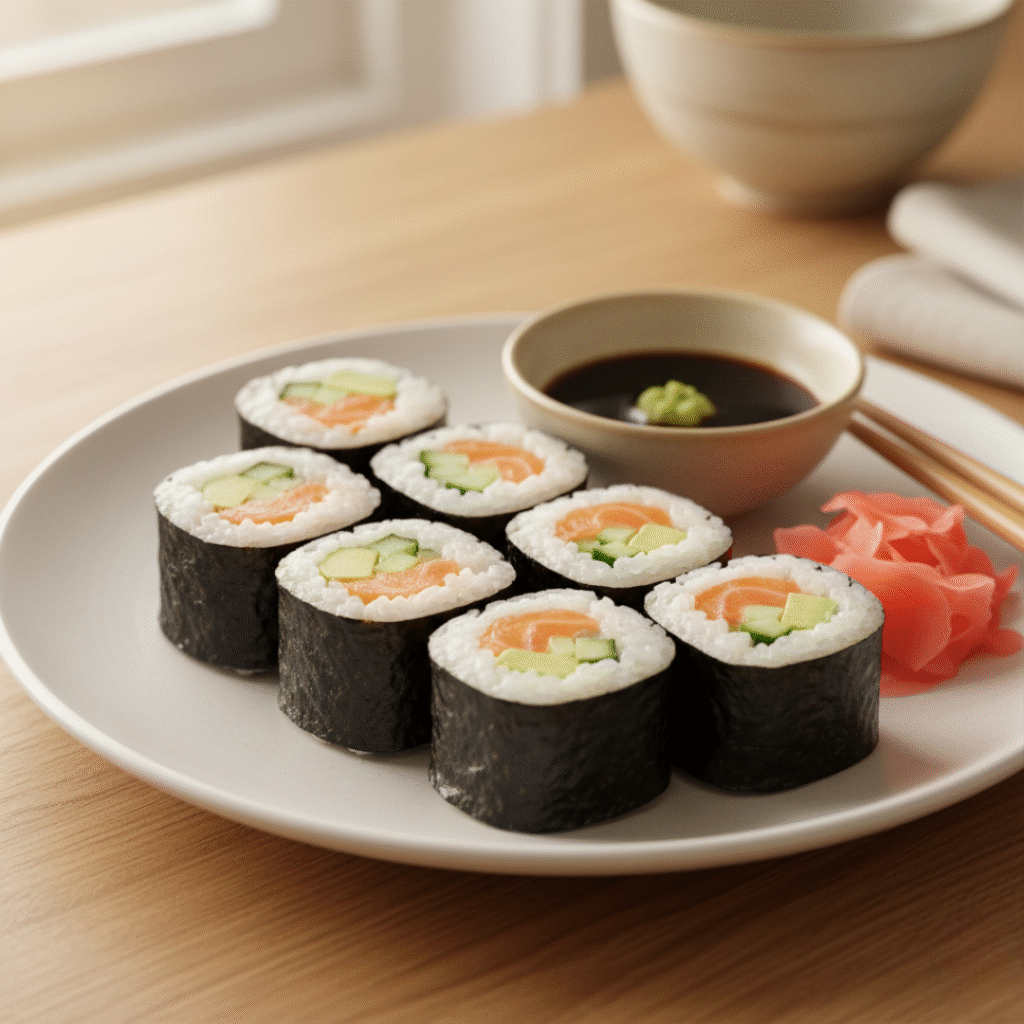
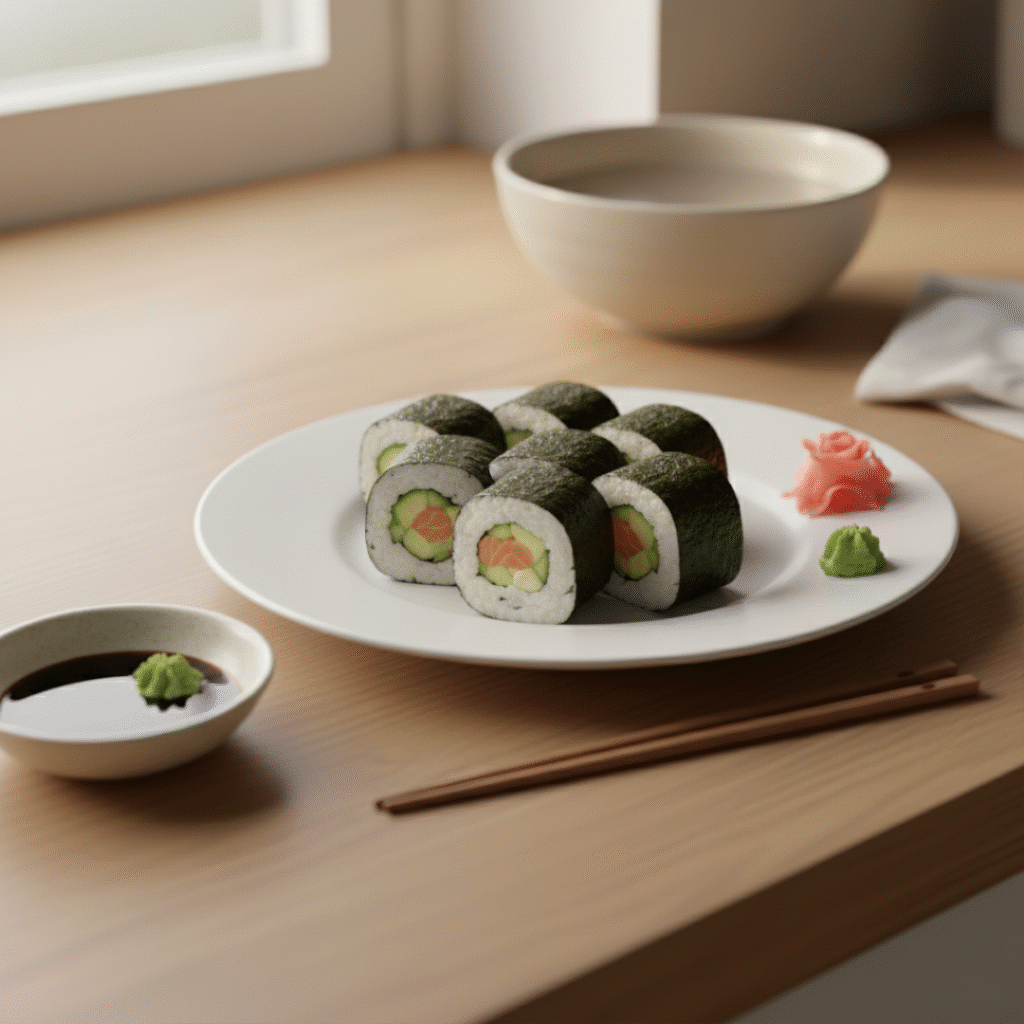
The Serving Part
Put your rolls on a plate. Some soy sauce in a little bowl. A tiny dot of wasabi. Some pickled ginger on the side. That’s it. That’s the whole setup. Looks fancy but super simple.
Stuff That Actually Matters
Don’t try to use regular rice. Seriously. Japanese short-grain is the only thing that works. If you try to cheat this, your rolls will fall apart and you’ll be sad.
Keep your knife sharp and wet. Wet knife = clean cuts. Dull knife = squished rice mess.
Don’t refrigerate your sushi after you make it. Eat it fresh. Cold rice doesn’t taste as good.
Buy good salmon from somewhere you trust. This isn’t the place to save money.
Practice makes perfect basically. Your first roll might look weird but your fifth one will be way better. It’s just rolling practice.
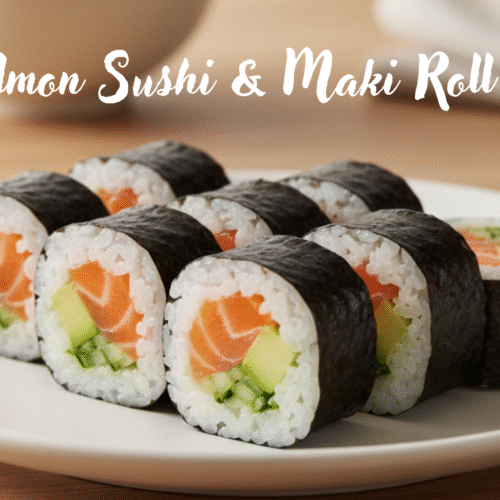
Perfect Salmon Sushi & Maki Roll – Quick & Delicious
Equipment
- Rice cooker or pot with lid
- Bamboo rolling mat
- Sharp knife
- Wooden spoon
- Small bowl of water
Ingredients
- 2 cups Japanese short-grain rice
- 2.5 cups water
- 3 tbsp rice vinegar
- 2 tbsp sugar
- 1 tsp salt
- 4 sheets nori
- 200 g fresh sushi-grade salmon sliced
- 1 ripe avocado sliced
- 1 cucumber julienned
- 1 tsp wasabi
- Soy sauce for serving
- Pickled ginger for serving
INSTRUCTIONS
- Rinse rice 5-6 times until water is clear
- Cook rice with 2.5 cups water (15 mins in pot or rice cooker)
- Mix rice vinegar, sugar, salt and warm gently
- Fold seasoning into hot rice, let cool 10-15 mins
- Prep all fillings – salmon, avocado, cucumber
- Wet hands with vinegar water
- Spread rice on nori, leave ½ inch bare at top
- Add fillings in center – wasabi, salmon, avocado, cucumber
- Roll tightly using bamboo mat
- Wet top edge of nori to seal
- Slice into 6-8 pieces with wet knife
- Serve with soy sauce, wasabi, pickled ginger
STORAGE:
- Keep in airtight container in fridge for up to 24 hours. Serve at room temperature.
Real Talk
You can absolutely do this. Seriously. It’s not some mystical skill that only trained sushi chefs can do. It’s just rice, fish, and knowing how to roll something up. Once you make a few, you’ll wonder why you ever thought it was hard. Your friends are gonna think you’re amazing when you make this. And the best part? It actually tastes really good, and you know exactly what’s in it.
Serving Suggestions – How to Make It Look Professional
Alright so once you’ve made your rolls, here’s how to actually serve them so people think you know what you’re doing.
Put your rolls on a nice white plate – white looks clean and makes the colors pop. Arrange them so you can see the spiral on top. That’s the whole point, right?
Make three little bowls on the side – one with soy sauce, one with wasabi (but like, a tiny bit because it’s strong), and one with pickled ginger. People can grab what they want.
You can also serve it with some edible flowers or cucumber slices on the plate if you wanna be extra. Not necessary but it looks cool.
Some people like to serve it with miso soup on the side. That’s actually pretty legit. Or just some green tea. Keeps it all feeling authentic and nice.
The key is making it look intentional. Don’t just throw it on a plate randomly. Even a simple presentation makes people respect what you made.
Storage – Keep Your Leftovers Good
Real talk – sushi is best eaten fresh, right after you make it. Like within an hour ideally. That’s when it tastes the best and the rice is perfect.
But here’s what to do if you have leftovers or made extra. Put them in an airtight container and stick them in the fridge. They’ll stay okay for like 24 hours max. After that it gets weird and the rice gets hard.
Don’t freeze it. Trust me. Frozen sushi is sad sushi.
When you’re ready to eat your leftover rolls, just take them out of the fridge and let them sit on the counter for like 10 minutes so they warm up a tiny bit. Cold sushi rice doesn’t taste as good.
If you’re making sushi for a party or something and need to store it for a few hours, keep it covered with a damp cloth so it doesn’t dry out. That actually works pretty well.
FAQs
Q: Can I use regular rice instead of Japanese short-grain? A: Nah, not really. Regular rice won’t stick together properly and your rolls will fall apart. It’s like the foundation of everything. Spend the extra couple bucks on the right rice.
Q: What if I don’t have a bamboo mat? A: You can use plastic wrap or aluminum foil in a pinch, but honestly a bamboo mat is like 5 bucks and way easier. Just get one. It’s worth it.
Q: Can I make the rice ahead of time? A: You can make it like an hour before, but don’t refrigerate it. Cold rice is hard and doesn’t taste good. Make it fresh ideally, or at least keep it at room temperature covered with a damp cloth.
Q: My rolls keep falling apart, what am I doing wrong? A: You’re probably either overstuffing them or not rolling them tight enough. Use less filling and apply more pressure as you roll. Also make sure that nori strip at the top is wet to seal it.
Q: Is wasabi really supposed to be that spicy? A: Yes, it’s supposed to hit you. But use less if you can’t handle it. Start small and work your way up.
Q: Can I make sushi without salmon? A: Of course. Use cucumber, avocado, cooked shrimp, crab, whatever. But this guide is specifically for salmon so that’s what we’re doing here.
Q: How many rolls does this recipe make? A: This makes 4 rolls, and each roll makes about 6-8 pieces depending on how you cut it. So you’re getting like 24-32 pieces of sushi. That’s usually good for 2-4 people as an appetizer or main course.
Q: What’s the difference between maki and nigiri? A: Maki is the rolled kind like we’re making. Nigiri is where you put the fish on top of a little rice ball. This guide is for maki.