
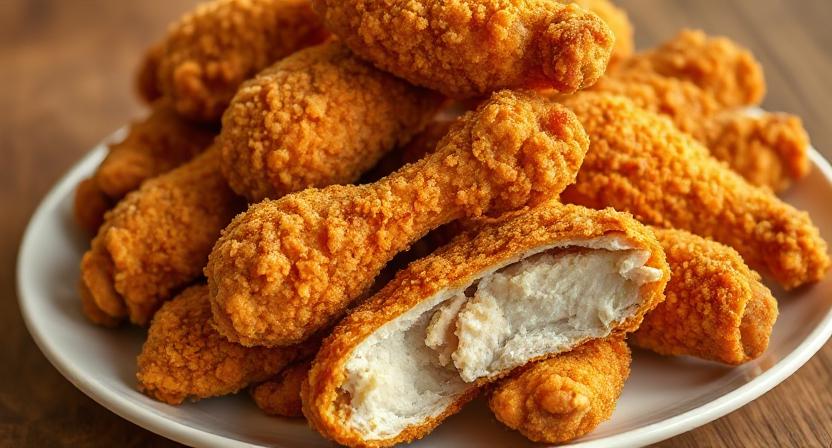
Ever wonder why some fried chicken makes you happy-dance in the kitchen while others just… exist? The difference isn’t magic – it’s knowing a few simple tricks that turn ordinary chicken into golden, crispy perfection.
This recipe uses ingredients you can grab at any grocery store. No weird stuff. No fancy equipment. Just simple steps that create amazing results every single time.
Ready to make fried chicken so good that people start showing up at dinnertime “by accident”? Let’s dive in!
Simple Ingredients That Pack Big Flavor
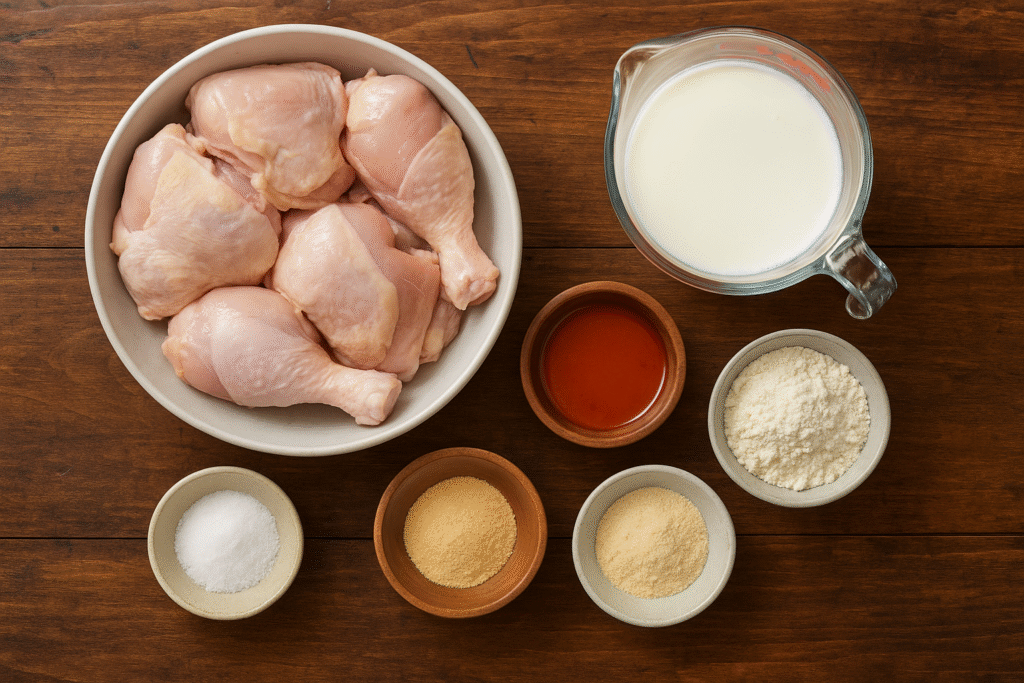
Good fried chicken doesn’t need a million ingredients. It needs the RIGHT ingredients in the right amounts. Here’s everything needed to create crispy magic:
For the Chicken:
- 3 pounds chicken pieces (thighs, drumsticks, breasts – whatever you like)
- 2 cups buttermilk
- 2 tablespoons salt
- 1 tablespoon hot sauce (any kind works fine)
- 1 teaspoon garlic powder
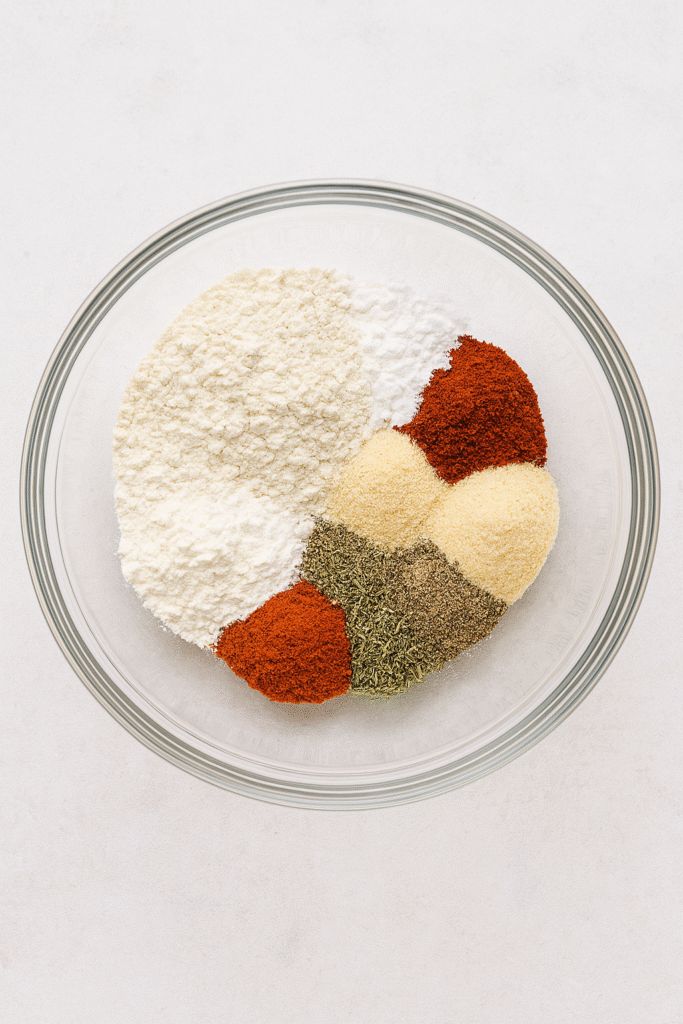
For the Crispy Coating:
- 2 cups all-purpose flour
- ½ cup cornstarch (this makes it super crispy)
- 2 tablespoons paprika
- 1 tablespoon garlic powder
- 1 tablespoon onion powder
- 2 teaspoons salt
- 1 teaspoon black pepper
- ½ teaspoon cayenne pepper
- ½ teaspoon dried thyme
For Frying:
- 8 cups vegetable oil (enough to cover chicken pieces)
That’s it! Nothing fancy, nothing expensive. Just regular stuff that creates extraordinary results.
Quick Guide
Table of Contents
The Easy Cooking Process: No Stress, Just Success
Part 1: Soak the Chicken (4-24 Hours Ahead)
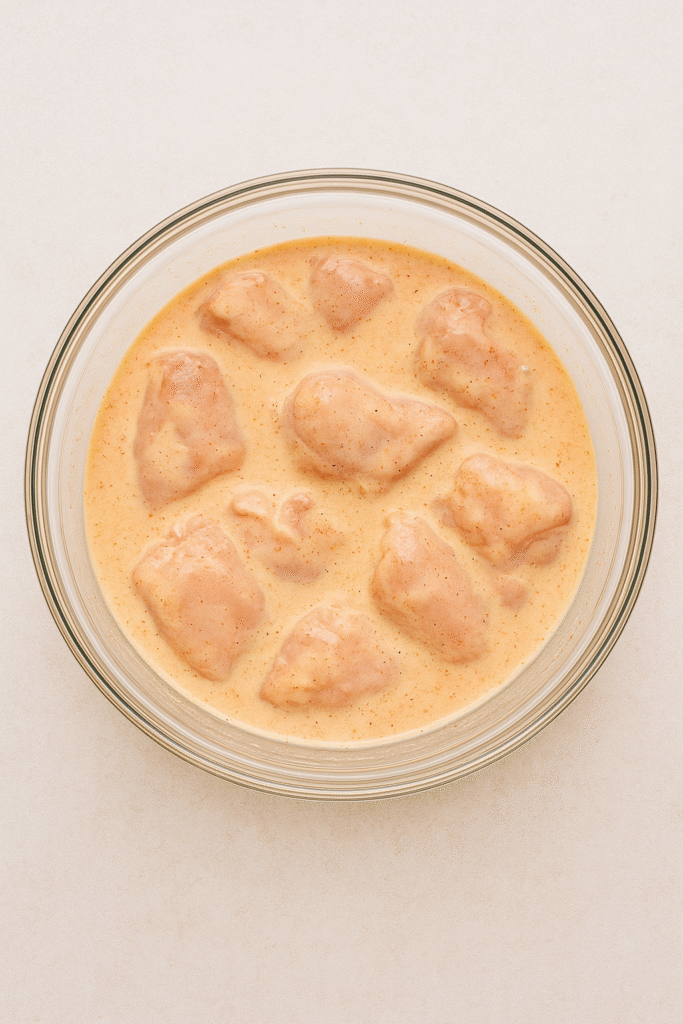
Mix buttermilk, salt, hot sauce, and garlic powder in a big bowl. Stir until salt disappears completely.
Drop chicken pieces into this mixture. Make sure every piece gets covered. The buttermilk should reach all the nooks and crannies.
Cover bowl and stick in fridge. Wait at least 4 hours, but overnight works even better. The chicken gets tender and flavorful while you sleep. Pretty cool, right?
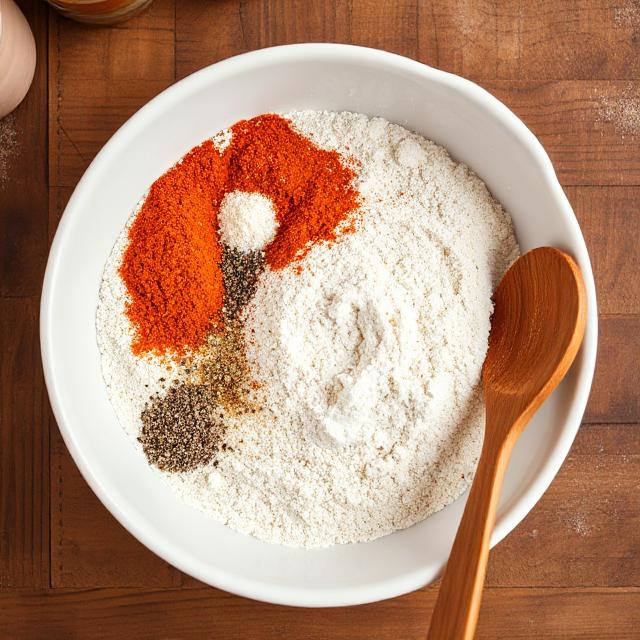
Part 2: Make the Coating (5 minutes)
Put all coating ingredients in a shallow dish. Mix everything together really well. The mixture should smell absolutely amazing – like a spice shop exploded in the best way.
This coating is where the magic happens. Each spice adds something special to create that restaurant-quality flavor.
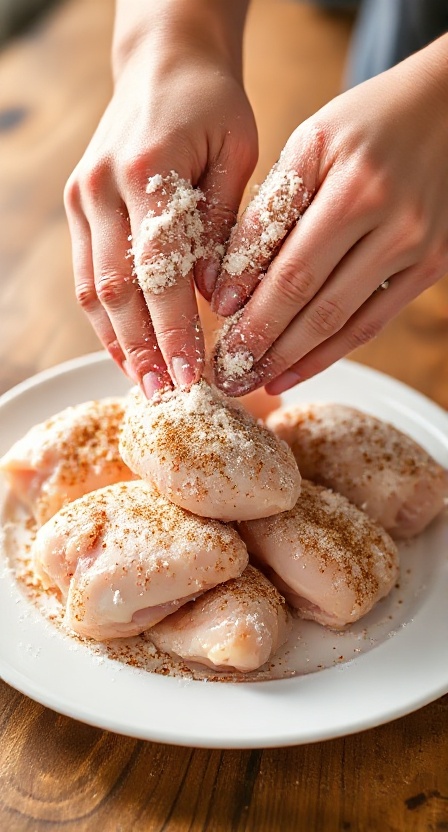
Part 3: Coat the Chicken (10 minutes)
Take chicken out of buttermilk. Let extra liquid drip off, but keep pieces a little wet. This helps coating stick better.
Roll each piece in the spice mixture. Press coating onto chicken so it sticks everywhere. Shake off loose flour.
Put coated pieces on a clean plate. They should look golden and ready for action. Let them sit for 10 minutes while oil heats up.
Part 4: Heat the Oil (15 minutes)
Pour oil into a heavy pot. Heat slowly to 325°F. Use a cooking thermometer to check temperature. This step is super important for crispy results.
Oil should look clear and shimmery when ready. Small bubbles will form around the thermometer. That’s your signal!
Part 5: Fry to Perfection (25-30 minutes)
The Simple Rules:
- Only cook 3-4 pieces at once
- Keep oil temperature steady at 325°F-350°F
- Turn pieces once during cooking
Cooking Times:
- Drumsticks: 15 minutes (turn at 7-8 minutes)
- Thighs: 14 minutes (turn at 7 minutes)
- Breasts: 12 minutes (turn at 6 minutes)
- Wings: 10 minutes (turn at 5 minutes)
Listen for gentle bubbling sounds. Watch coating turn beautiful golden-brown. The smell will drive everyone crazy in the best way.

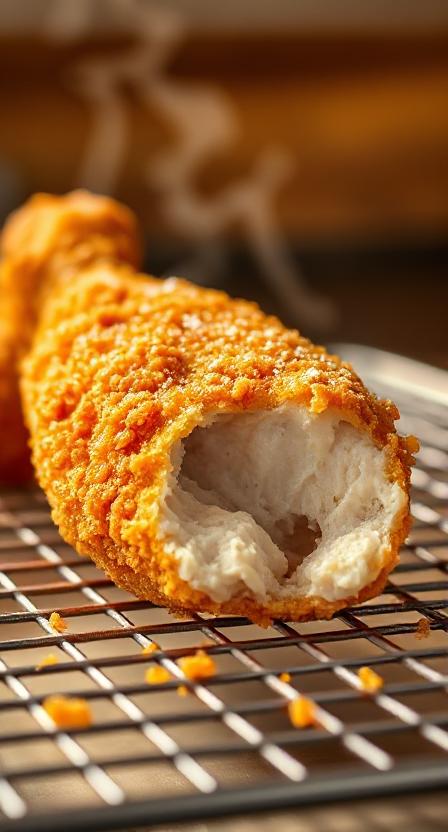
Part 6: The Perfect Finish (5 minutes)
Move finished pieces to a wire rack. They should look absolutely gorgeous – golden, crispy, and perfect.
Sprinkle with a tiny bit of salt while hot. Let rest 5 minutes before eating. This makes everything taste even better.
Restaurant Tricks That Change Everything
Keep Temperature Steady
When chicken goes into oil, temperature drops. Turn heat up a little for 2-3 minutes, then back down. This keeps coating crispy while cooking meat perfectly.
The Resting Secret
Let coated chicken sit 10-15 minutes before frying. This simple step prevents coating from falling off during cooking. Professional kitchens always do this.
Fresh Oil Makes Better Chicken
Change oil after cooking 3-4 batches. Fresh oil creates cleaner flavors and prettier colors. Old oil makes everything taste heavy.
Season While Hot
Sprinkle salt on chicken right after frying. Hot coating grabs salt better, creating more flavorful results.
Perfect Side Dishes
Classic Comfort Foods
- Fluffy biscuits with butter
- Creamy mashed potatoes
- Crunchy coleslaw
- Sweet corn with butter
Easy Modern Additions
- Mac and cheese
- Potato salad with herbs
- Cornbread with honey
- Pickled vegetables
Simple Sauce Ideas
Set up small bowls with ranch, honey mustard, barbecue sauce, and hot sauce. Different sauces make each bite taste new.
Amazing Flavor Twists
Spicy Nashville Style
Add more cayenne to coating. Brush finished chicken with hot oil mixed with cayenne and brown sugar. Creates amazing heat that builds slowly.
Korean Crispy Style
Use half flour, half potato starch in coating. Glaze with honey, soy sauce, and garlic. Sweet-savory combination tastes incredible.
Herb Garden Style
Add fresh chopped herbs to coating. Rosemary, thyme, and sage work great. Makes chicken taste fresh and fancy.
Ranch Lovers Style
Mix ranch seasoning into flour coating. Perfect for kids and adults who love familiar flavors.
Honey Garlic Style
Brush hot chicken with honey and minced garlic mixture. Sweet meets savory in perfect harmony.
Smart Storage and Reheating
How to Store Properly
Cool chicken completely before storing – about 1 hour works. Put on paper towels in containers. Don’t cover tightly or coating gets soggy.
Stored right, chicken stays good for 3-4 days in fridge.
Best Reheating Method
Heat oven to 375°F. Put chicken on wire rack over baking sheet. Warm 10-12 minutes until coating sounds crispy again.
Air fryer works too – 350°F for 6-8 minutes. Check every 2 minutes.
Never microwave! This makes coating soft and sad.
Freezer Storage
Freeze cooled chicken in freezer bags for up to 3 months. Thaw in fridge overnight, then reheat in oven. Still tastes great!
Common Questions (The Real Stuff People Ask)
Q: My coating always falls off. How do I fix this?
A: Pat chicken dry after buttermilk but leave slightly damp. Let coated chicken rest 10 minutes before frying. Keep oil temperature steady. These steps prevent coating disasters.
Q: What oil temperature works best?
A: Keep oil between 325°F-350°F. Lower makes greasy chicken. Higher burns coating before meat cooks. Use thermometer for best results.
Q: How long should chicken marinate?
A: Minimum 4 hours creates good flavor. Overnight makes even better results. Longer marinating makes meat more tender and tasty.
Q: Can you make this recipe healthier?
A: Air fry at 375°F for 25-30 minutes, turning once. Or bake at 425°F for 35-40 minutes. Both methods use less oil but still taste great.
Q: How do you know when chicken is done?
A: Internal temperature should hit 165°F. Coating should be golden-brown and sound crispy when tapped. Juices should run clear when thickest part gets poked.
This recipe creates fried chicken that makes people smile. Simple ingredients, easy steps, amazing results. Soon everyone will want to taste the best fried chicken in town – and it’ll be coming from your kitchen!
The best part? Once you make this recipe, you’ll understand why some fried chicken tastes ordinary while others taste absolutely incredible. It’s all about doing simple things the right way.