
Picture this: It’s a quiet Sunday afternoon. The house feels cozy. Maybe it’s raining outside. You’re scrolling through Netflix, looking for something good to watch. Then it hits you – that familiar craving for something crispy, salty, and satisfying.
You check the pantry. Empty chip bags stare back at you mockingly.
But wait. There’s a bag of potatoes sitting in the corner. Fresh, firm, ready for transformation.
What if you could make homemade potato chips that taste better than anything you’d find in those shiny store packages? What if the process was simpler than you thought?
Today, we’re diving into the wonderful world of making your own potato chips recipe from scratch. Get ready to fill your kitchen with the most amazing aroma and your taste buds with pure crispy heaven.
Why Homemade Potato Chips Beat Store-Bought Every Single Time
Remember those family gatherings where someone always brought the “fancy” chips? The ones that disappeared first from the snack table?
Those were probably homemade.
Store-bought chips have their place. They’re convenient. Portable. But they’re also loaded with preservatives, artificial flavors, and enough sodium to make your doctor worry.
Homemade potato chips give you complete control. You choose the oil. You decide the salt level. No weird chemicals with unpronounceable names. Just pure, simple ingredients working together to create something magical.
The texture difference is incredible too. Fresh chips have this clean, bright potato flavor that bagged chips lost somewhere between the factory and your pantry shelf.
Plus, making them yourself costs way less. One bag of potatoes can feed a small army of chip-loving friends and family.
What You’ll Need for Perfect Homemade Potato Chips
Essential Ingredients:
- 4-5 medium russet potatoes (the secret to perfect crispiness)
- Vegetable oil for frying (enough to fill your pot halfway)
- Sea salt to taste
- Cold water for soaking
Optional Flavor Boosters:
- Garlic powder
- Onion powder
- Paprika
- Black pepper
- Parmesan cheese (for fancy occasions)
- Chili powder (for those who like heat)
Tools You’ll Need:
- Sharp knife or mandoline slicer
- Large mixing bowl
- Heavy-bottomed pot or deep fryer
- Slotted spoon
- Paper towels
- Kitchen thermometer (helpful but not essential)
QUICK GUIDE
Table of Contents
How to Make Homemade Potato Chips
Let’s walk through this together. Imagine you’re in your kitchen, sleeves rolled up, ready to create something amazing.
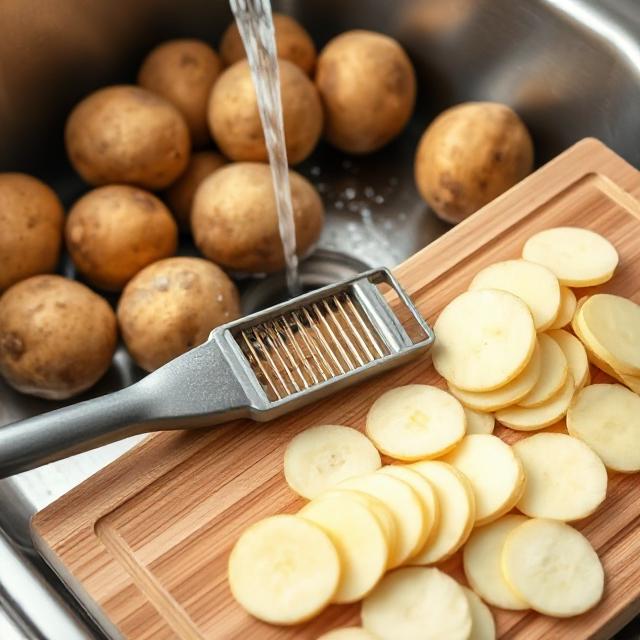
Step 1: Choose and Prep Your Potatoes
Start with russet potatoes. They’re starchy, which means maximum crispiness when fried. Wash them thoroughly under cold water. You can peel them or leave the skins on – both ways taste fantastic.
The slicing is crucial here. Think about those perfect restaurant-style chips. Thin, uniform, golden. That’s what we’re after. Cut your potatoes into slices about 1/8 inch thick. Consistency matters more than perfection.
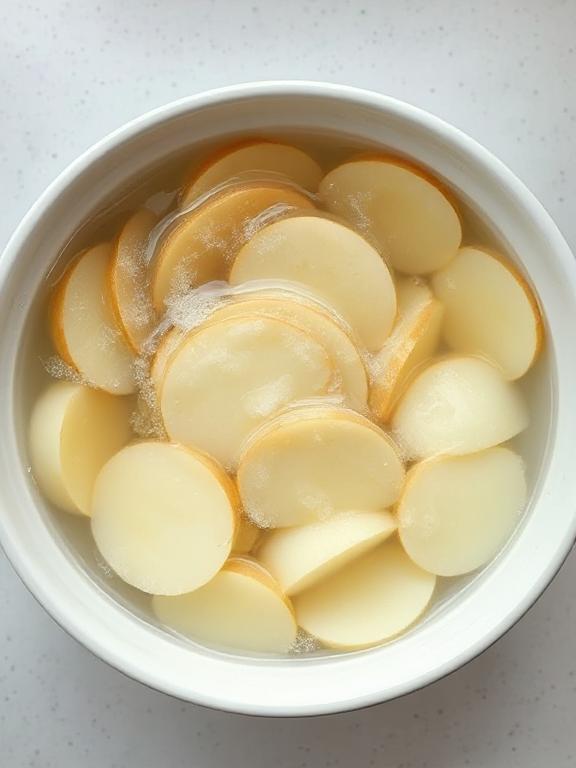
Step 2: The Soaking Secret
Here’s where many people skip steps and wonder why their chips don’t turn out right.
Submerge those beautiful potato slices in cold water for at least 30 minutes. This isn’t busy work – it’s chemistry. The water pulls out excess starch that would otherwise make your chips stick together and prevent proper browning.
Watch the water turn cloudy. That’s the starch saying goodbye. Some cooks change the water once during soaking for even better results.
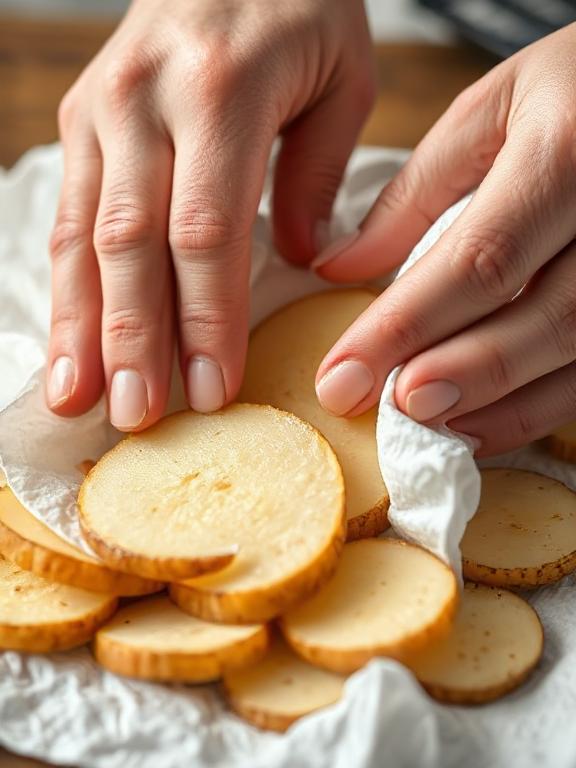
Step 3: Dry Like Your Chips Depend On It
After soaking, pat every single slice completely dry with paper towels. Water and hot oil don’t play nice together. Any moisture left on the potatoes will cause dangerous splattering and prevent that satisfying crunch we’re after.
Step 4: Heat Your Oil to Golden Perfection
Fill your pot halfway with oil and heat it to 350°F. No thermometer? Drop a tiny piece of potato into the oil. It should bubble immediately but not go completely wild.
Temperature control separates good chips from great ones. Too cool and you get greasy, soggy disappointments. Too hot and you get burnt outsides with raw centers.

Step 5: The Frying Dance
Work in small batches. Never crowd the pot. This drops the oil temperature and creates chaos instead of crispy perfection.
Gently slide 8-10 slices into the hot oil. They’ll bubble enthusiastically as water evaporates. Watch them transform from pale white to golden brown. This usually takes 2-4 minutes.
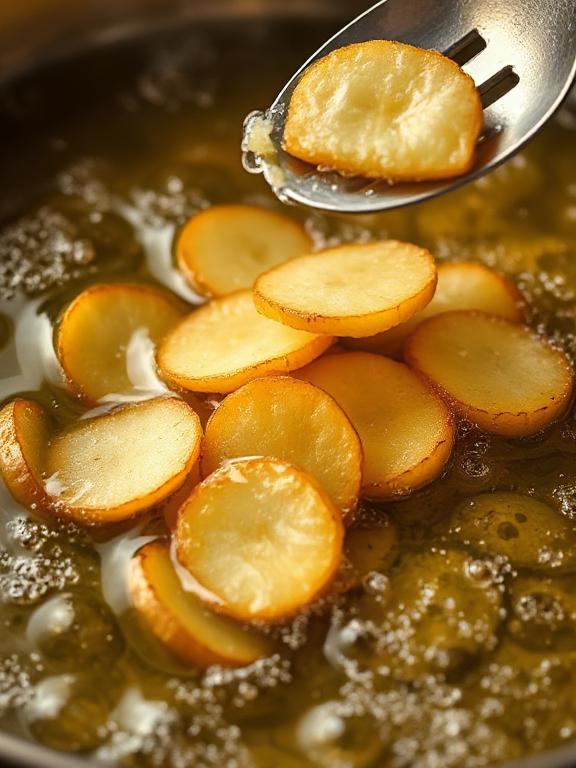
Step 6: Drain and Season
Lift the chips out with your slotted spoon and immediately place them on paper towels. Season with salt while they’re still hot – this is when the magic happens. Hot chips grab onto seasonings like they were meant to be together.
Delicious Variations to Try
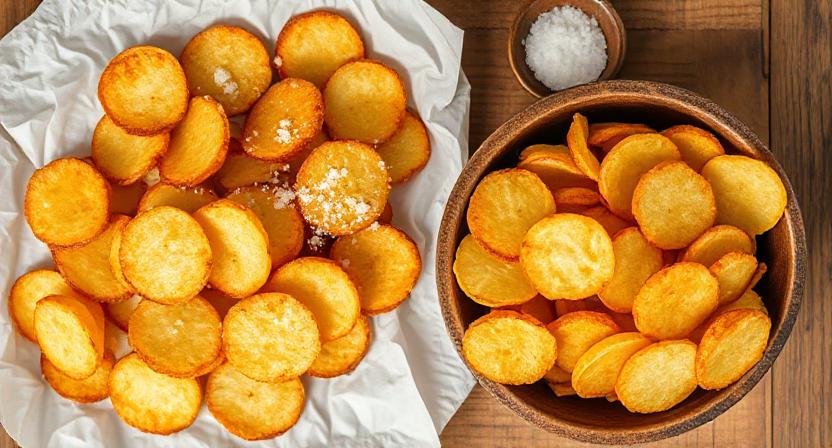
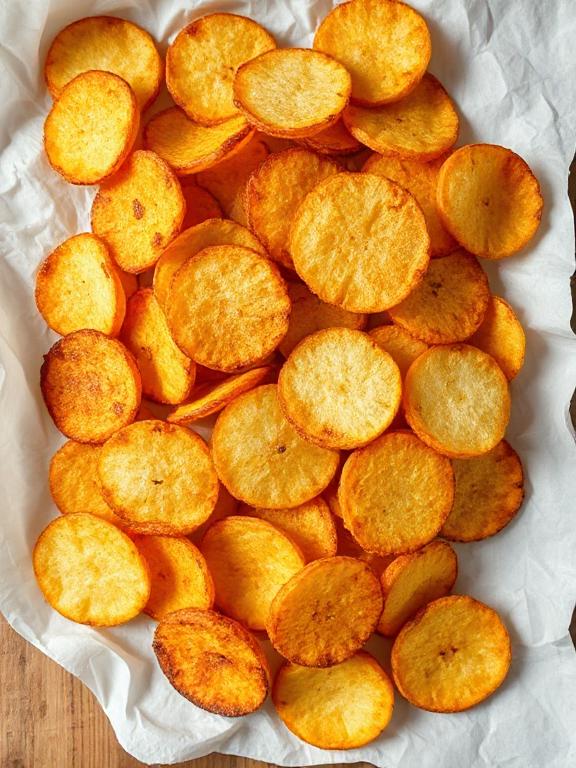
Classic Salted Chips
The traditional potato chips recipe that never goes out of style. Just oil, potatoes, and the perfect amount of sea salt.
Masala Potato Chips
Mix chili powder, turmeric, and chaat masala for an Indian-inspired twist that’ll wake up your taste buds.
Homemade Potato Chips Baked
Preheat oven to 450°F. Toss thin potato slices with a light coating of oil and salt. Bake for 15-20 minutes until golden and crispy. This method gives you guilt-free crunch without the deep frying.
Air Fryer Potato Chips
Set your air fryer to 360°F. Cook slices in single layers for 12-15 minutes, flipping halfway through. Air fryer potato chips cook faster and use minimal oil while delivering maximum crispiness.
Pro Tips for Chip Perfection
Keep oil temperature steady. Invest in a good thermometer. Consistency wins every time.
Don’t rush the soaking. Those 30 minutes make the difference between okay chips and incredible ones.
Season immediately. Hot chips are like tiny flavor magnets. Cold chips? Not so much.
Fresh oil tastes better. Old oil creates off-flavors that ruin good potatoes.
Serving Ideas with Potato Chips
Potato chips aren’t just a quick snack; they pair wonderfully with so many dishes. If you’re enjoying crispy fried chicken or flavorful chicken tikka, a side of homemade chips adds the perfect crunch. They also go really well with hamburgers and sloppy joes, balancing out the juicy, soft fillings with their crisp texture. For drinks, a chilled glass of mango juice makes a refreshing match to the salty flavor of chips. Whether it’s a casual lunch, a dinner party, or a weekend hangout with friends, potato chips fit right in and make every meal more enjoyable.
When Things Don’t Go Perfect
Chips turned out greasy? Your oil wasn’t hot enough. Next time, wait for proper temperature before adding potatoes.
Some burned while others stayed pale? Uneven slicing is usually the culprit. Take time to cut uniformly.
Not crispy enough? Either insufficient soaking or inadequate drying. Both steps matter more than they seem.
Chips stuck together? Same solution – better soaking and drying next time.
Keeping Your Homemade Chips Fresh
Fresh homemade potato chips taste best immediately, but they’ll stay decent in airtight containers for 2-3 days. They might lose some crispiness, but the flavor remains superior to store-bought.
To refresh day-old chips, spread them on a baking sheet and warm in a 350°F oven for 3-4 minutes.
Healthy Options That Don’t Sacrifice Taste
Homemade potato chips baked in the oven use significantly less oil while still delivering satisfying crunch. The key is slicing thin and not overcrowding the baking sheets.
Air fryer potato chips might be the best compromise between health and indulgence. They cook evenly, use minimal oil, and clean up easier than traditional frying methods.
Both methods let you enjoy chip satisfaction without the guilt that comes with deep-fried versions.
How to Make Potato Chips at Home – Easy Recipe
Equipment
- Sharp knife or mandoline slicer
- Large mixing bowl
- Heavy-bottomed pot or deep fryer
- Slotted spoon or wire strainer
- Paper towels
- Kitchen thermometer (optional)
Ingredients
Essential Ingredients:
- 4-5 medium russet potatoes the secret to perfect crispiness
- Vegetable oil for frying enough to fill your pot halfway
- Sea salt to taste
- Cold water for soaking
Optional Flavor Boosters:
- Garlic powder
- Onion powder
- Paprika
- Black pepper
- Parmesan cheese for fancy occasions
- Chili powder for those who like heat
INSTRUCTIONS
Instructions
- Prep: Wash and slice potatoes thinly (1/8 inch)
- Soak: Submerge slices in cold water for 30 minutes
- Dry: Pat completely dry with paper towels
- Heat: Heat oil to 350°F in heavy pot
- Fry: Cook small batches for 2-4 minutes until golden
- Season: Drain on paper towels and salt immediately while hot
Difficulty Level
- Easy to Moderate (suitable for beginners with careful attention to oil temperature)
Dietary Information
- Naturally gluten-free
- Vegan-friendly
- Can be made oil-free (baked version with cooking spray)
- Low sodium (when lightly salted)
The Joy of Making Food That Brings People Together
There’s something magical about creating food with your own hands. When you make homemade potato chips, you’re not just preparing snacks. You’re creating moments.
Picture weekend movie nights with family, passing around bowls of chips that smell like your kitchen instead of a factory. Imagine surprising guests with something made from scratch instead of torn from a package.
These small acts of creating nourish more than just our bodies. They feed our souls and strengthen connections with people we care about.
The next time that chip craving hits, remember you have everything you need to make something better than anything money can buy. All it takes is some potatoes, oil, heat, and a little bit of love.
Your kitchen is ready. Your taste buds are waiting. Time to make some magic happen.
Frequently Asked Questions
Q: How long do homemade potato chips stay fresh? A: Properly stored homemade chips stay fresh for 2-3 days in airtight containers.
Q: Can I make potato chips without a deep fryer? A: Absolutely! A heavy pot with oil works perfectly for frying, or try baked or air fryer methods.
Q: Why do my homemade chips turn out soggy? A: Usually due to insufficient drying after soaking or oil that’s not hot enough during frying.
Q: Are baked potato chips as good as fried ones? A: Baked chips have a slightly different texture but can be just as satisfying with proper technique and seasoning.
Leave a Comment